Robot Payload Capacity: The Critical Foundation for Successful CNC Machining Automation
Introduction: The Bedrock of Robotic Integration in Precision Manufacturing
In the domain of high-precision CNC machining, the integration of industrial robotics is a transformative step toward achieving unparalleled efficiency, consistency, and scalability. While discussions often center on robot reach, speed, or programming, one fundamental parameter dictates the feasibility, safety, and performance of any automation project: robot payload capacity.
This specification is far more than a simple weight limit. It is the cornerstone of a successful robotic cell, influencing everything from motion stability and positional accuracy to long-term system reliability and return on investment (ROI). For a precision engineering partner like JLYPT, a nuanced and comprehensive understanding of robot payload capacity is not optional—it is an essential engineering discipline that separates a robust, productive work cell from a costly, underperforming installation.
This definitive guide will dissect the multifaceted nature of robot payload capacity, moving beyond catalog specifications to explore the physics, calculations, and practical considerations crucial for CNC machining applications. We will deconstruct the concept into its core components, provide a framework for accurate calculation and selection, and examine real-world implications through detailed case studies, empowering you to make data-driven decisions for your automation strategy.
Deconstructing Payload Capacity: Beyond the Stated Kilogram
A robot’s stated payload (e.g., 10 kg, 35 kg, 500 kg) represents the maximum mass the robot can handle under ideal, static conditions at a specific configuration, typically with the arm fully extended. However, in the dynamic environment of a CNC machining cell, this number is merely a starting point. True effective payload is a function of several interdependent factors.
1. Static Payload: The Foundation
This is the combined weight of all elements attached to the robot’s wrist flange. It is the most apparent component but must be meticulously calculated:
-
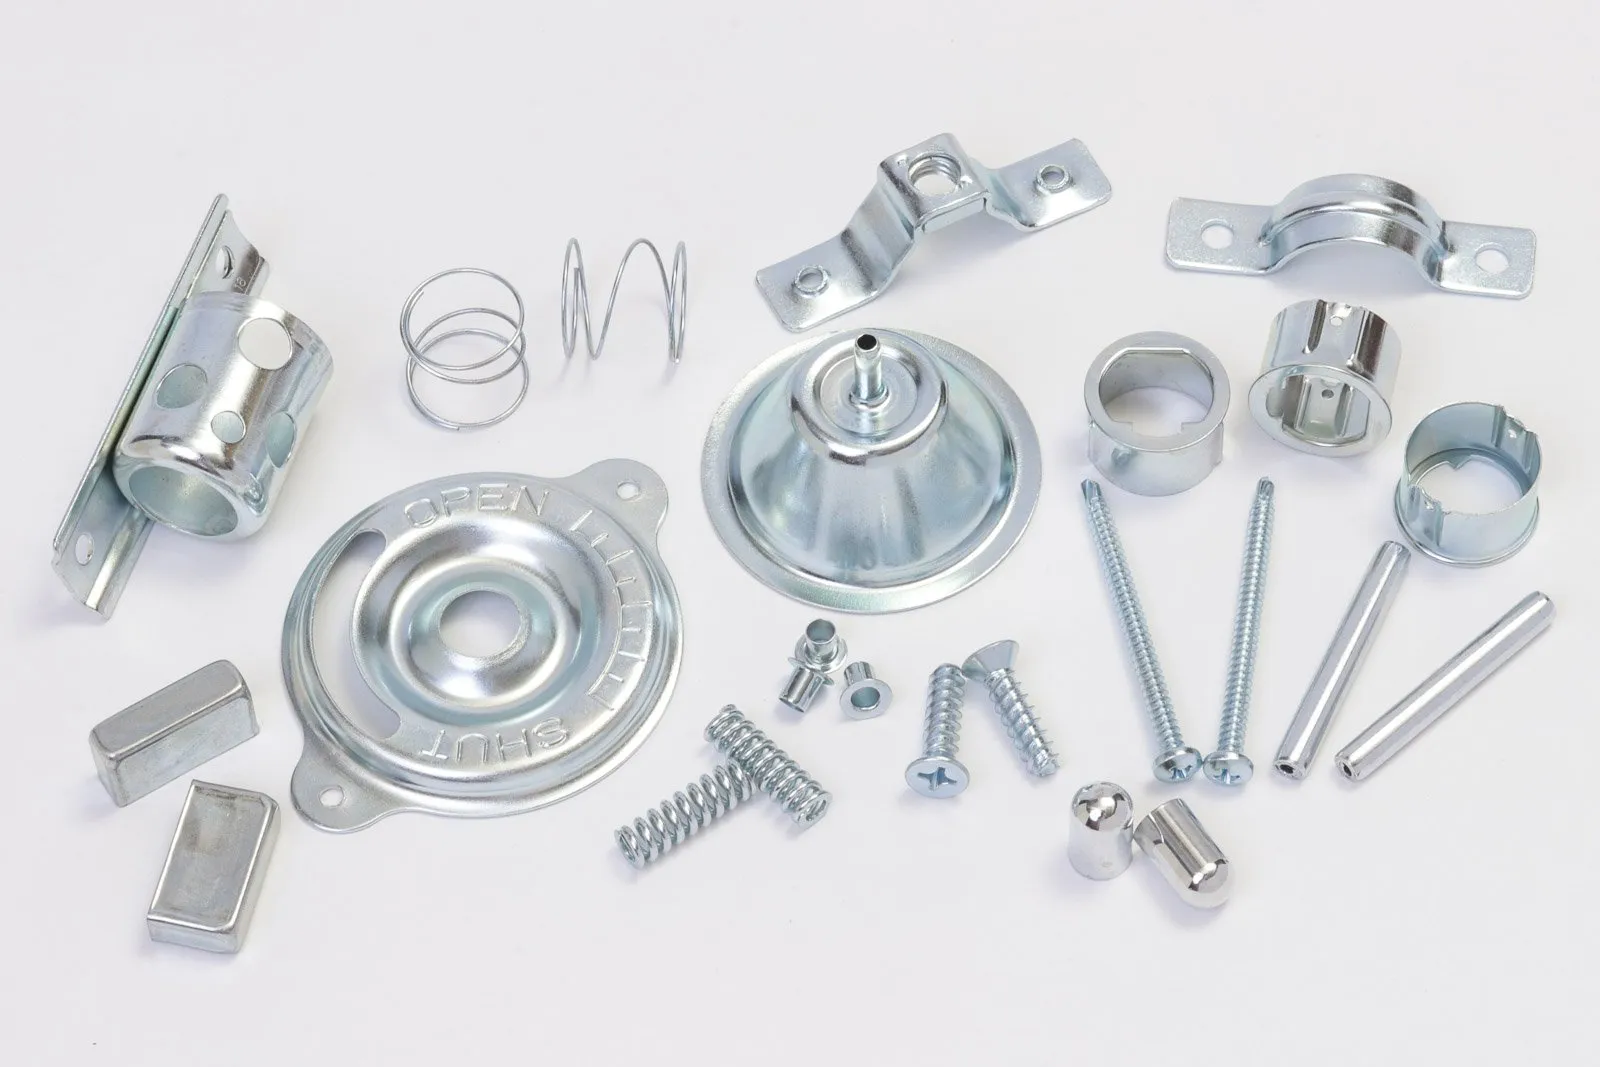
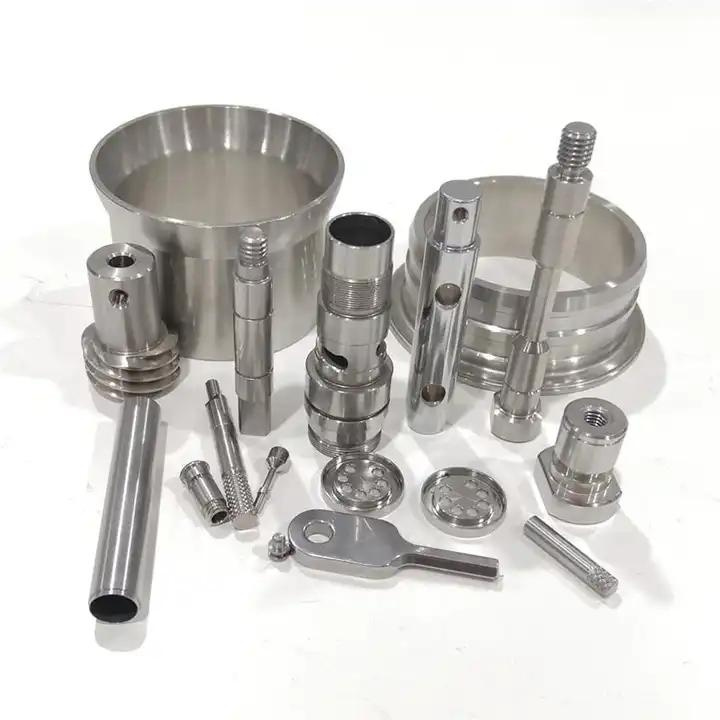
End-of-Arm Tooling (EOAT) Weight: This includes the gripper body (mechanical, vacuum, or magnetic), any custom jaws or fingers, and all mounting brackets and adapters. For machining applications, this could also be the weight of a motorized spindle or a force-sensing deburring tool.
-
Workpiece Weight: The weight of the heaviest part the cell is designed to handle, including any pallets, fixtures, or containment boxes that are lifted with the part.
-
Auxiliary Component Weight: Often overlooked, this includes cables, hoses (for pneumatics or coolant), cable carriers, and any sensors (vision cameras, laser scanners) mounted on the EOAT.
Critical Consideration: Leading manufacturers like Epson provide explicit warnings: exceeding the robot’s design limits for weight can lead to errors, excessive shock, reduced performance, and accelerated wear on mechanical components like gears and belts. The system is not merely slowed; its operational life is compromised.
2. Dynamic Payload: The Hidden Multiplier
When the robot moves—especially during the acceleration and deceleration phases of high-speed pick-and-place or precise contouring—dynamic forces come into play. This is where load inertia becomes the dominant concern, often more critical than weight alone.
-
Moment of Inertia: This measures an object’s resistance to changes in its rotation. For a robot, it quantifies how difficult it is to start or stop rotating the load around a joint axis. A long, heavy workpiece held far from the robot’s wrist has a very high inertia, even if its weight is within the static limit.
-
Impact on Performance: High inertia causes several issues:
-
Overshoot and Vibration: The robot may oscillate or overshoot its target position, drastically reducing accuracy and increasing cycle time as the system waits for vibrations to dampen.
-
Servo Error and Wear: The joint motors must work harder to overcome inertia, leading to increased servo following errors, heat generation, and mechanical stress.
-
Automatic Speed Reduction: Modern robot controllers, when properly configured with accurate inertia and weight parameters, will automatically derate the maximum acceleration and speed to maintain stability and protect the mechanics. This protects the robot but may negate expected cycle time improvements.
-
Practical Guidance: Manufacturers specify maximum permissible inertia values for their robots (e.g., a maximum of 2.45 kg·m² for certain Epson LS models or 0.004 kg·m² for their GX series). Calculating or estimating the inertia of your combined EOAT and workpiece is a non-negotiable step in cell design.
3. Torque and Force Considerations: The Wrist’s Limits
Payload capacity is typically defined at the wrist flange. However, the wrist joints (axes 4, 5, and 6) have their own, often lower, torque limits. Lifting a payload within the robot’s overall limit is one task; orienting that payload (e.g., tilting a heavy part for machining access) applies significant torque to these smaller wrist motors. If the load’s center of mass is offset from the flange center—a condition known as eccentricity—it creates a moment that directly consumes the wrist’s torque capacity. This can lead to “stalling” the wrist axes or drastically reducing their speed.
The Engineering Framework: How to Calculate and Select the Correct Payload
Selecting a robot based solely on part weight is a recipe for underperformance. Follow this structured engineering framework.
Step 1: Comprehensive Load Audit
Create a detailed bill of materials for everything attached to the wrist:
-
EOAT: Obtain exact weights from supplier datasheets or physically measure prototypes.
-
Workpiece: Use CAD software to calculate the volume and mass of your heaviest part and fixture.
-
Peripherals: Weigh cable bundles and hoses. Estimate the mass of any shrouding or protection.
Step 2: Calculate Total Mass and Center of Gravity (CoG)
Sum all weights from Step 1. Crucially, use your CAD system to determine the combined Center of Gravity (CoG) location relative to the robot’s wrist flange. A CoG far from the flange increases detrimental torque and inertia.
Step 3: Estimate Inertia and Evaluate Eccentricity
While precise inertia calculation can be complex, CAD software can automatically calculate it for your assembled EOAT and workpiece model. At a minimum, estimate it by modeling the load as a simple geometric shape (e.g., a cylinder or cuboid) using standard formulas.
Simultaneously, measure the eccentricity—the distance between the flange center and the load’s CoG. This value must be provided to the robot controller for optimal tuning.
Step 4: Apply the Critical Safety Factor
Industry best practice dictates applying a significant safety factor to your calculated total mass. As noted in technical literature on EOAT selection, the safety factor must account for dynamic forces:
-
1.2-1.3x for slow, steady movements.
-
1.5-2.0x for high-speed operations or frequent start/stop cycles common in machine tending.
-
>2.0x for highly dynamic processes or unstable/vibratory environments.
Your selection criterion becomes: Robot Nominal Payload ≥ (Total Calculated Mass × Safety Factor). Furthermore, the robot’s maximum permissible inertia must exceed your calculated load inertia.
Comparative Analysis of Robot Payload Classes for CNC Machining
The table below outlines how different payload capacities align with common CNC machining tasks and the critical factors that dominate each class.
Table 1: Robot Payload Classes and Their CNC Machining Applications
| Payload Class | Typical Range | Dominant Design Factor | Primary CNC Applications | Key Considerations & Risks |
|---|---|---|---|---|
| Precision / Low-Payload | 1 – 5 kg | Positional Accuracy & Speed | Handling small precision components (connectors, medical implants), light deburring, PCB loading. | Inertia of tooling can easily dominate. Vibration control is paramount. High repeatability (±0.01mm) is often required. |
| Standard / Medium-Payload | 10 – 35 kg | Stiffness & Cycle Time Optimization | Machine tending for mills and lathes, part transfer, palletizing machined components, medium assembly. | The most common class. Balance between speed and strength. Must carefully calculate inertia for larger jigs or multiple-part grippers. |
| Heavy-Payload | 50 – 200 kg | Structural Rigidity & Moment Load | Handling large raw castings/forgings, loading large fixtures, tending heavy-duty machining centers, welding large structures. | Wrist torque is a major constraint. Requires massive, stiff EOAT. Foundation and mounting are critical. Speeds are significantly lower. |
| Very Heavy / Custom Payload | 200 kg – 20+ Tonnes | System Integration & Custom Engineering | Moving complete engine blocks, large airframe sections, or via specialized AGVs/RGVs for entire assembly lines. | Fully custom solutions. Focus on mobility (AGV/RGV) and system-level control (e.g., digital twin调度). Standard articulated robots rarely apply. |
Advanced Implications: How Payload Influences Machining Cell Performance
The ramifications of correct payload sizing extend across the entire manufacturing operation.
1. Path Accuracy and Surface Finish in Robotic Machining
When a robot is used for direct processes like milling, polishing, or drilling, its dynamic stiffness is key. A robot operating near its payload limit will exhibit more structural deflection under cutting forces. This leads to tool chatter, dimensional inaccuracies, and poor surface finish. Overspecifying the payload (choosing a robot rated for a higher mass than strictly necessary) often results in a more rigid arm structure, directly benefiting machining quality.
2. The Critical Role of Payload in System Reliability and Uptime
Operating a robot continuously at or above 80-90% of its rated capacity accelerates wear on reducers (harmonic drive, RV), bearings, and motors. The excessive strain manifests as:
-
Increased maintenance frequency.
-
Premature failure of mechanical components.
-
Degradation of positional repeatability over time.
Selecting a robot with a 25-50% payload margin for the application is a strategic investment in long-term uptime and lower total cost of ownership.
3. Impact on Work Envelope and Process Flexibility
A heavier payload can effectively reduce a robot’s maximum reach and speed. The performance graphs in a robot’s datasheet are always contingent on payload. A robot capable of reaching 2 meters with a 5kg load may only reach 1.7 meters with a 20kg load while maintaining acceptable path accuracy. This directly impacts cell layout and the size of the components you can process.
Case Studies in Payload Engineering
Case Study 1: High-Mix Aerospace Component Tending
-
Challenge: A job shop needed a single robot to tend three CNC mills processing a vast array of aluminum and titanium aerospace brackets. Part weights ranged from 0.5kg to 8kg, but the variety required a complex, multi-jaw gripper with integrated tool changers and a vision system, bringing the EOAT weight to 15kg.
-
Payload Analysis: The initial instinct to select a 10-15kg payload robot was insufficient. The total static load (15kg EOAT + 8kg part) was 23kg. Factoring in a 1.5 dynamic safety factor for high-speed transfer indicated a need for a robot capable of handling at least 34.5kg.
-
Solution & Outcome: JLYPT engineers specified a robot with a 50kg payload. This provided the necessary overhead for the heavy EOAT, ensured high-speed operation without automatic derating, and guaranteed the stiffness needed for precise placement within the machine vice. The substantial margin also accommodated future EOAT modifications, protecting the investment.
Case Study 2: Heavy Casting Machining Line for Automotive
-
Challenge: Automating the transfer of raw cast iron engine blocks (weighing 85kg) from a conveyor into a multi-pallet system and then onto a large horizontal machining center (HMC).
-
Payload Analysis: The engine block’s weight (85kg) and size created high inertia. A standard 100kg payload robot would operate at 85% capacity before adding any EOAT. A heavy-duty mechanical gripper and custom fixture added 25kg, bringing the total to 110kg—exceeding the robot’s nominal limit.
-
Solution & Outcome: A 180kg payload robot was selected. This critical margin accommodated the heavy-duty gripper required for secure handling and, most importantly, provided the massive structural stiffness to manage the high inertia without excessive deflection or vibration. The robot’s controller was meticulously tuned with the precise load, inertia, and CoG data, enabling stable and reliable 24/7 operation.
Case Study 3: Precision Robotic Deburring and Finishing Cell
-
Challenge: A medical device manufacturer required a robotic cell to deburr and polish small, complex stainless steel implants. The parts weighed only 200g, but the process required a force-controlled spindle, a water-cooled motor, and a quick-change tool holder for different abrasive media.
-
Payload Analysis: While the part was negligible, the specialized EOAT weighed 8kg. The finishing process required extremely smooth, vibration-free motion at the micron level. Any servo jitter or structural resonance would imprint on the part surface.
-
Solution & Outcome: A 15kg payload collaborative robot (cobot) known for its high path accuracy and force sensitivity was chosen. Although the 8kg tooling was only 53% of the rated capacity, the selection was driven by the robot’s exceptional low-speed smoothness and built-in force control capabilities, not by raw lifting power. The payload margin ensured the robot could manage the tool’s inertia during quick orientation changes without compromising finish quality.
The Future Trajectory: Smarter Payload Management
The future of robot payload capacity lies in intelligent adaptation. Emerging technologies are shifting the paradigm from static specification to dynamic management:
-
Auto-Tuning and Identification: Advanced systems now use “wiggle tests” or automated routines to identify the actual mass, CoG, and inertia of the installed payload, auto-configuring the controller for optimal performance.
-
AI-Driven Dynamic Control: Machine learning algorithms can predict load-induced deflection based on arm position and movement commands, enabling real-time path compensation to maintain accuracy.
-
Advanced Materials: The use of carbon fiber composites and advanced alloys in robot arms and EOAT design is reducing weight without sacrificing stiffness, effectively increasing the usable payload for a given robot size.
Conclusion: A Strategic Engineering Decision
Robot payload capacity is a foundational engineering parameter that resonates through every aspect of a CNC automation cell’s performance, reliability, and economic return. It demands a holistic analysis that goes beyond the weight of the part to encompass the entire end-of-arm system, dynamic forces, and the specific demands of precision manufacturing.
Treating payload selection as an exercise in matching a single number is a critical error. It must be approached as a rigorous engineering analysis involving mass, inertia, torque, safety factors, and a clear understanding of the process requirements. By investing in this upfront diligence and partnering with experts who grasp these nuances—like the engineers at JLYPT—manufacturers can deploy robotic solutions that are not just functional, but are optimized for peak performance, longevity, and a superior return on investment.
Ready to engineer a robotic automation solution built on a foundation of precise payload analysis? Contact JLYPT to discuss how our systematic approach to robot payload capacity and system integration can de-risk your project and unlock the full potential of your CNC machining operations. Explore our capabilities at JLYPT CNC Machining Services.