6061 Anodizing Best Practices (CNC-Focused): How to Specify, Machine, Prepare, Anodize, Seal, and Inspect 6061 Parts for Consistent Results
Anodizing 6061 is “common”—but not automatically “easy.” The same alloy that machines beautifully can still deliver inconsistent color, visible flow lines, racking shadows, tolerance stack-ups, or unexpected pitting if the process is not engineered around real CNC part geometry. This guide is written for buyers and engineers who want 6061 anodizing best practices that work in production: repeatable cosmetics, predictable dimensional growth, defined masking, and an inspection plan that reduces disputes. It is also written from the practical viewpoint of a CNC machining service provider—because the anodize result begins at the toolpath, not at the anodize tank. If you want a finishing partner that can machine + finish with one accountable workflow, review JLYPT’s anodizing service capabilitie
6061 Anodizing Best Practices Start with One Truth—“6061” Is Not a Single Surface
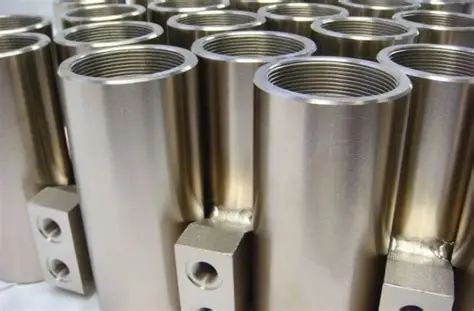
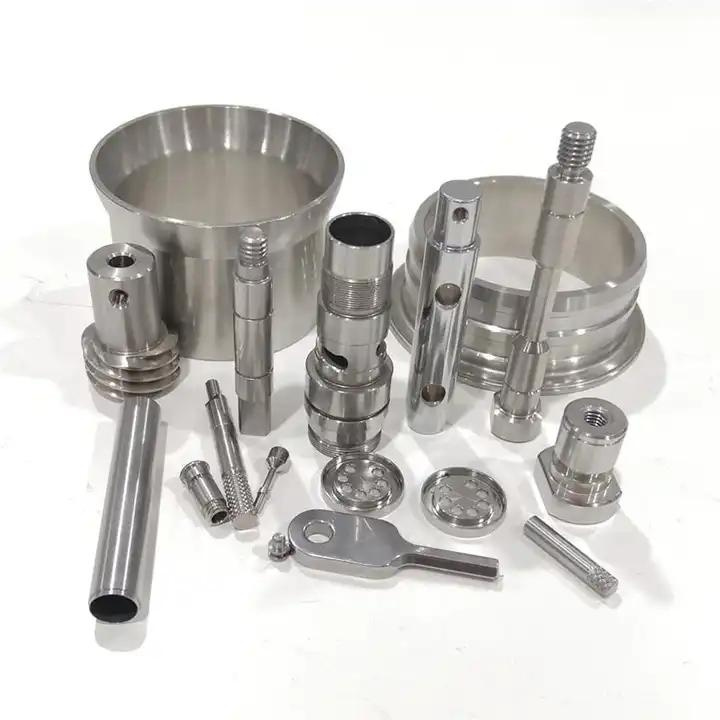
6061 is an Al-Mg-Si alloy, widely used for CNC housings, brackets, frames, and functional enclosures. It is popular because it offers strong machinability, good strength-to-weight ratio, and reasonable corrosion performance. But anodizing does not “see” your CAD model. It “sees” your actual surface metallurgy:
- local composition differences (intermetallics, silicon-rich areas)
- machining smear, embedded fines, and coolant residue
- surface roughness and tool mark directionality
- sharp edges and current density gradients
- the racking contact geometry and electrical path
That is why 6061 anodizing best practices always combine engineering (spec + design intent), manufacturing (machining discipline), and finishing control (pretreatment + anodize + seal + QC).
Choose the Right Anodize Type for 6061 (Type II vs Type III vs Specialty)
Most 6061 programs fall into two families: Type II sulfuric anodize (decorative + protective) and Type III hard anodize (wear-focused). Selecting the wrong type is a frequent source of cost overruns and disappointing performance.
Table 1 — Anodize types for 6061 and where they fit
| Anodize type | Typical purpose | Typical thickness range (guideline) | Appearance | Key notes for 6061 |
|---|---|---|---|---|
| Type II (sulfuric) | Corrosion protection + cosmetic | ~5–25 μm | Clear or dyed | Best for housings and cosmetic parts; color consistency depends on alloy/finish |
| Type III (hard anodize) | Wear resistance + surface hardness | ~25–75 μm (often higher) | Darker natural tone; dyes less predictable | Dimensional growth is significant; may need post-machining allowances |
| Chromic / specialty (program-specific) | Corrosion + minimal dimensional change | thin | typically gray | Used when dimensional change must be minimal; availability depends on compliance requirements |
| PTFE-impregnated (post-treatment) | Reduced friction | varies | dark / matte | Often paired with hardcoat for wear applications |
| Decision shortcut: If the part must slide, rub, or resist abrasion, start with Type III. If it must look clean and consistent in color, start with Type II—then engineer the surface prep and color control. |
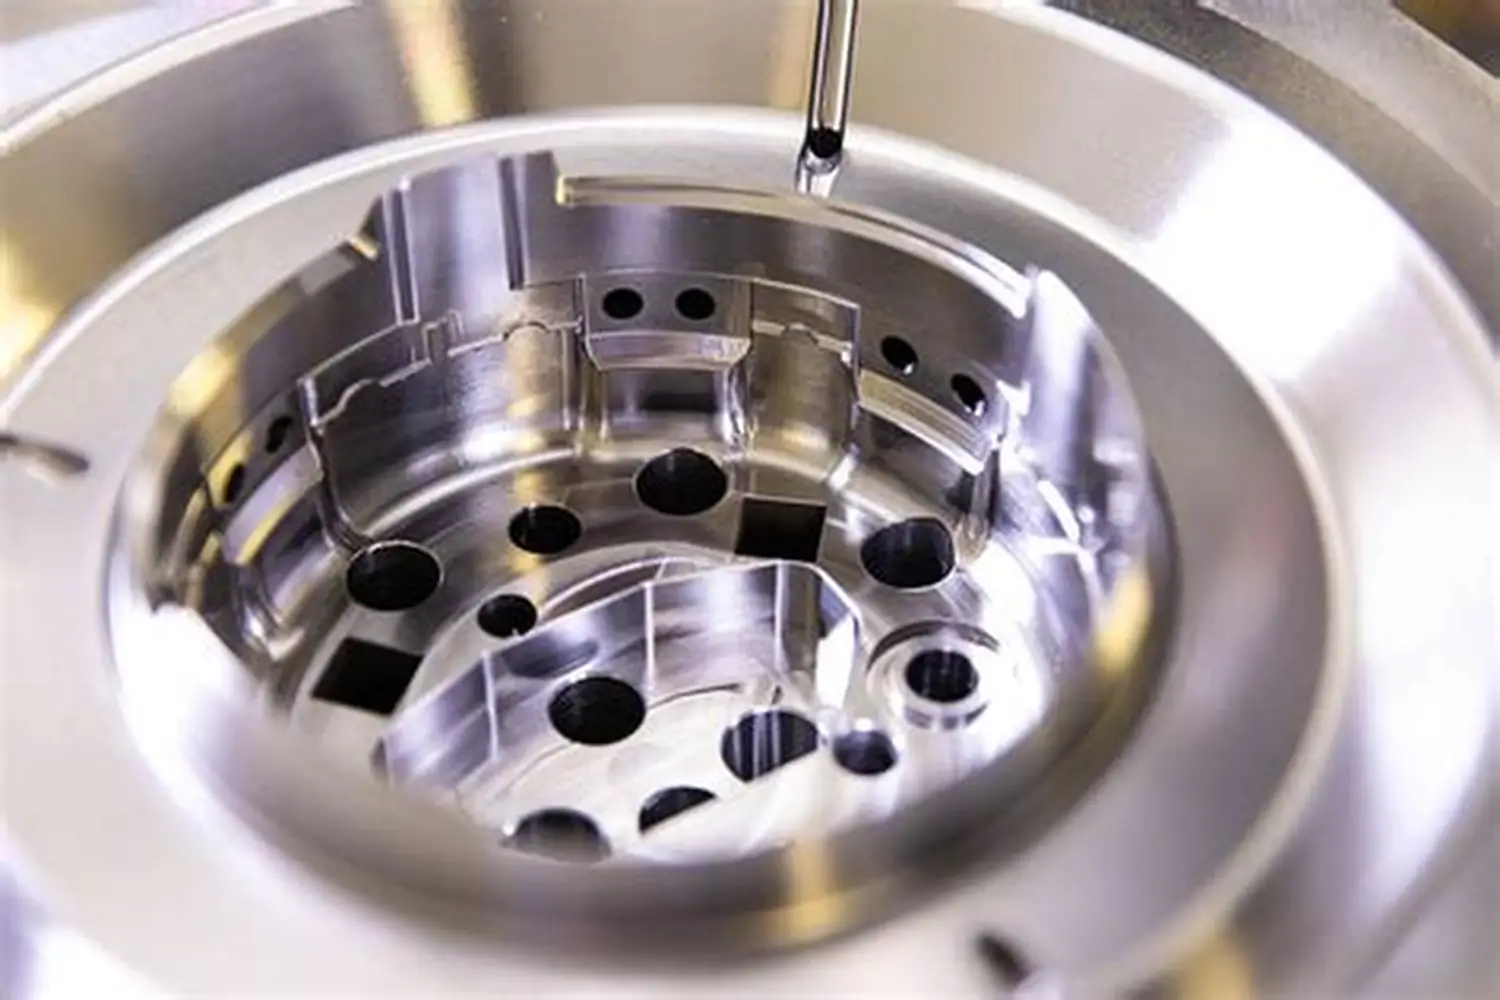
6061 Anodizing Best Practices for CNC Machining (Before the Part Ever Hits Pretreatment)
The cleanest anodize jobs are built upstream. CNC decisions directly influence cosmetic outcomes and defect rates.
Table 2 — CNC-to-anodize interface: what to control
| CNC factor | Why it matters in anodizing | What to do in machining |
|---|---|---|
| Coolant/oil selection | Residues can cause streaks, poor wetting, and adhesion issues for dyes | Use stable coolant, control concentration, avoid silicone contamination |
| Surface finish strategy | Tool marks can telegraph through clear anodize | Align toolpaths on A-surfaces; consider uniform finishing pass |
| Burrs and sharp edges | Edges grow anodize unevenly and highlight defects | Deburr consistently; add edge breaks where allowed |
| Mixed lot material | Different mills/heat lots can dye differently | Keep material traceability; avoid mixing lots for cosmetic builds |
| Hand finishing | Inconsistent scuffing creates “cloudy” anodize | Standardize abrasive grit and direction; limit manual blending |
| Part handling | Fingerprints can etch into anodize chemistry | Gloves + clean staging; prevent metal-to-metal scuffing |
| If you only change one thing: treat cosmetic A-surfaces as process surfaces (controlled toolpath + controlled handling), not as a last-minute polishing problem. |
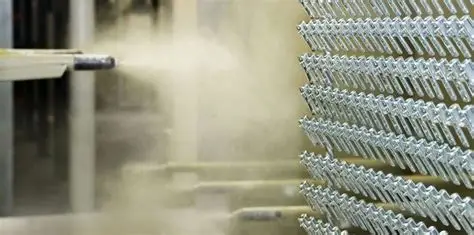
Pretreatment (Clean, Etch, Desmut) — The Core of 6061 Anodizing Best Practices
For 6061, pretreatment is not simply “wash it.” It is a designed chemical sequence that prepares the oxide growth uniformly and prevents smut, pitting, and haze. A typical line includes:
- alkaline clean / soak clean
- rinse
- etch (if needed for cosmetic uniformity)
- rinse
- desmut / deoxidize
- rinse
- anodize
- dye (optional)
- seal
- rinse + dry
Table 3 — What etch and desmut actually do on 6061
| Step | Function | What can go wrong | Best-practice control points |
|---|---|---|---|
| Alkaline clean | Removes oils, light residues | Incomplete cleaning → streaks, dye blotch | Control time/temperature; verify rinse break-free condition |
| Etch | Levels micro-roughness; reduces machining contrast | Over-etch → dimension loss, edge rounding; under-etch → visible tool marks | Use consistent time; document “etch class” per part family |
| Desmut / deoxidize | Removes intermetallic residue (“smut”) after etch | Poor desmut → dark smut patches, poor cosmetics | Match chemistry to 6061; maintain concentration and turnover |
| Important: Etch is a cosmetic tool, not always a requirement. For tolerance-critical parts, you may choose a lighter etch—or none—then rely on machining finish and controlled anodizing instead. |
6061 Anodizing Best Practices for Dimensional Growth (The Tolerance Reality)
Anodize is not “paint.” It becomes part of the aluminum surface by converting metal into oxide. That conversion creates dimensional change that you must plan for—especially on bores, threads, precision fits, and datum surfaces. A practical rule often used in engineering discussions: about half the anodize thickness grows outward and half grows inward (the exact ratio depends on process specifics). The key is to treat it as measurable growth, not as a rounding error.
Table 4 — Dimensional planning guide for 6061 anodize (engineering-friendly)
| Feature | Risk | Best practice |
|---|---|---|
| Bearing bores / slip fits | ID reduces; potential interference | Mask bores or machine oversize based on target thickness |
| Threads | Reduced fit class; galling risk | Mask threads whenever possible; if not, specify thread allowance and verify with gauges |
| Precision mating faces | Standoff change affects assembly | Mask or define acceptable thickness range and assembly stack-up |
| Press fits | Oxide is hard/brittle, can crack under press | Mask press-fit zones or ream/hone after anodize (program-dependent) |
| O-ring grooves | Dimensional change affects squeeze | Model groove growth; mask or compensate |
Table 5 — Typical masking decisions for CNC 6061 parts
| Area to protect | Why | Common masking approach |
|---|---|---|
| Internal threads | Maintain engagement and torque | Silicone plugs, caps, or stop-off lacquer |
| Grounding pads | Preserve conductivity | Masked pads; specify location and size |
| Bearing seats | Preserve size and surface | Custom plugs; tightly defined mask lines |
| Datum surfaces | Maintain measurement consistency | Mask datum pads; define on drawing |
| Weld prep or bonding zones | Adhesives don’t like sealed anodize | Mask bonding region; define surface prep for bonding |
| When buyers complain that “anodize ruined the fit,” it usually means the drawing never communicated how the fit should survive anodizing. |
Racking and Electrical Contact—Where Many Cosmetic Complaints Actually Start
Anodizing is an electrochemical process. Current must enter the part through contact points. Those contacts can leave witness marks—often unavoidable, but controllable and designable.
Table 6 — Racking variables that change anodize results
| Racking variable | Impact | Best-practice approach |
|---|---|---|
| Contact location | Witness mark placement | Define “non-cosmetic rack zones” in design |
| Contact force | Electrical stability vs marring | Optimize pressure; use proper fixturing for repeatability |
| Current density distribution | Thickness uniformity | Rack orientation to reduce shielding and uneven build |
| Part-to-part spacing | Consistency across load | Standardize spacing; avoid crowding A-surfaces |
| Drainage orientation | Streaking risk after rinse/seal | Rack to encourage drainage from pockets and ledges |
| Design tip: Provide a discreet racking hole or tab on non-cosmetic geometry. It is usually cheaper than rejecting parts for unavoidable rack marks. |
Color, Dye, and Batch Consistency—The Practical Side of Black 6061 Anodizing
Black anodize is one of the most requested finishes for 6061 CNC enclosures—and one of the most misunderstood. Color consistency depends on:
- alloy and heat lot
- surface finish and etch level
- anodize thickness and pore structure
- dye chemistry, time, and temperature
- sealing method and seal quality
Table 7 — What drives visible color variation on 6061
| Driver | How it shows up | What to do |
|---|---|---|
| Different 6061 lots | Same “black” looks warmer/cooler | Keep lot control for cosmetic builds; approve a master standard |
| Mixed surface finishes | Patchy reflectivity | Standardize machining + optional blast/brush process |
| Uneven thickness | Shade shift on edges vs flats | Improve racking/orientation; define thickness range |
| Over/under sealing | Color washout or poor durability | Choose a sealing spec and verify process control |
| Part geometry (pockets) | “Two-tone” effect | Specify acceptable range; design for drainage and uniform current paths |
| Buyer tip: If color is critical, do not rely on “black anodize” as a single instruction. Provide a color target method (visual master, instrument target, or approved sample panel) and clarify acceptable variation. |
Sealing Options (Corrosion vs Wear vs Appearance)
Sealing closes anodic pores, improving corrosion resistance and dye fastness. But some sealing methods can reduce wear performance, which matters for hard anodize applications.
Table 8 — Seal methods and when to use them
| Seal method | Strengths | Trade-offs | Best use case |
|---|---|---|---|
| Hot DI water seal | Good corrosion resistance, widely used | Can affect wear; process control sensitive | General Type II clear or dyed |
| Nickel acetate seal | Strong dye retention + corrosion performance | Requires control of chemistry | Cosmetic dyed Type II, many industrial programs |
| Mid-temp seal systems | Balanced throughput and performance | Must match spec requirements | Production lines with tight control |
| Unsealed or specialized post-treat | Preserves maximum wear in some cases | Reduced corrosion resistance | Certain Type III wear parts (program-specific) |
| Sealing is not “optional” if the part lives outdoors, sees fingerprints, or must retain dye. But for wear interfaces, you must decide what matters more: corrosion resistance, dye stability, or abrasion performance. |
Type II vs Type III on 6061—How to Choose Without Guessing
Table 9 — Decision matrix (engineer’s view)
| Requirement | Prefer Type II | Prefer Type III |
|---|---|---|
| High cosmetic quality | ✅ | ⚠️ (possible, but harder) |
| Consistent dyed color | ✅ | ⚠️ (dyeing hardcoat can be less uniform) |
| Wear resistance / abrasion | ⚠️ | ✅ |
| Tight tolerances | ✅ (thin) | ⚠️ (thick growth, harder planning) |
| Electrical insulation | ✅ | ✅ (often better due to thickness) |
| Outdoor corrosion (with proper sealing) | ✅ | ✅ (must manage cracks/porosity risk) |
| If you are unsure, specify the functional requirement (wear, corrosion, cosmetics, insulation, tolerance) rather than forcing a type with no performance context. |
6061 Anodizing Best Practices for Drawing Notes (Copy/Paste Callouts)
Table 10 — Example specification notes you can adapt
| Goal | Example drawing note (edit to your program) |
|---|---|
| Standard Type II clear | “ANODIZE ALUMINUM, TYPE II SULFURIC, CLEAR, SEALED. MASK THREADS AND DATUMS AS NOTED.” |
| Black Type II cosmetic | “TYPE II SULFURIC ANODIZE, BLACK DYE, SEALED. COSMETIC A-SURFACES: NO STREAKS, BLOTTCHING, OR VISIBLE RACK MARKS.” |
| Type III hard anodize | “TYPE III HARD ANODIZE, THICKNESS ___ μm. MASK ALL FIT BORES/THREADS. DIMENSIONS APPLY AFTER ANODIZE WHERE INDICATED.” |
| Thickness verification | “MEASURE COATING THICKNESS ON DEFINED TEST LOCATIONS PER LOT; RECORDS REQUIRED.” |
| Masking definition | “MASK: (1) Mx THREADS (2) Ø___ BEARING BORE (3) GROUND PAD ___ x ___ mm.” |
| Well-written notes reduce rework, speed quoting, and prevent the most common argument: “We thought it was implied.” |
Quality Control and Inspection Plan (Thickness, Seal Quality, Cosmetics)
A conversion-focused anodize supplier should be able to explain what gets inspected and how acceptance is defined.
Table 11 — Inspection checklist for anodized 6061 parts
| Inspection item | Why it matters | How it’s typically verified |
|---|---|---|
| Coating thickness | Performance + fit | Non-destructive thickness measurement methods suitable for anodize |
| Visual cosmetics | Customer-facing quality | Controlled lighting + distance + A-surface definition |
| Color consistency | Brand/product match | Approved master sample or defined color tolerance method |
| Seal quality (program-specific) | Corrosion + dye fastness | Process verification and/or defined test method per spec |
| Mask integrity | Assembly readiness | Go/no-go gauges for bores/threads; visual mask line checks |
| Part cleanliness after finish | Prevents customer handling defects | Packaging inspection + clean handling protocol |
| If your parts must assemble immediately, request that the supplier verifies masking completion and critical-feature functionality (threads, bores) before shipment. |
Defects on 6061 Anodizing—Symptoms, Root Causes, Fixes
Table 12 — Troubleshooting library for 6061 anodize
| Symptom | Likely root cause | Corrective action |
|---|---|---|
| “Cloudy” clear anodize | Mixed surface finish, inconsistent etch, residue | Standardize machining finish; control etch; improve cleaning |
| Smut patches after etch | Incomplete desmut on intermetallics | Refresh desmut chemistry; adjust time/temperature |
| Pitting | Chlorides/contamination, poor pre-clean | Strengthen cleaning + rinsing discipline; confirm water quality |
| Streaking/drain marks | Poor drainage orientation, trapped solution in pockets | Change racking orientation; add drain features |
| Shade mismatch in black | Lot variation, thickness variation, dye process drift | Tighten lot control; define thickness window; standardize dye parameters |
| Rack burn / contact darkening | Unstable electrical contact, current spikes | Improve racking contact design and load control |
| Scratches visible after anodize | Handling damage or pre-existing tool marks | Improve packaging/handling; define A-surface protection |
| A strong “best practices” approach is not just fixing defects—it is building a repeatable workflow that prevents them from occurring in the first place. |
Design-for-Anodizing (DfA) Rules for 6061 CNC Parts
Table 13 — DfA rules that reduce rejects and cost
| Design choice | Why it helps anodizing | Practical guideline |
|---|---|---|
| Add edge breaks | Reduces fragile edges and improves appearance | Small chamfers/radii on exposed edges |
| Provide racking feature | Controls contact marks | Add a hidden rack hole or tab |
| Avoid deep blind pockets | Improves rinsing + uniform anodize | Add drainage/venting or open geometry |
| Define A-surfaces | Aligns cosmetic inspection | “A-SURFACE: FRONT AND TOP ONLY” |
| Minimize mixed finishes | Prevents reflectivity mismatch | Keep consistent machining direction or specify blast |
| Plan masking early | Preserves fits | Identify bores/threads that must remain bare |
| If you want premium cosmetics, you have to design for it. Anodizing will not “average out” design features that fight drainage, racking, and uniform current flow. |
H2: 3 Case Studies (Production-Like Scenarios for 6061)
Case Study 1 — Cosmetic Black Type II on CNC Enclosures (Color + A-Surface Control)
Part: 6061-T6 CNC machined electronics enclosure with visible outer faces and multiple threaded holes
Challenge: Customer required consistent black appearance across repeat orders; threads must remain functional without chasing
Applied 6061 anodizing best practices:
- Standardized machining finishing pass on A-surfaces
- Defined masking list for internal threads and a grounding pad
- Controlled racking zones placed on non-cosmetic interior edges
- Established a master visual standard for black shade
Result: Stable cosmetic acceptance across batches, fewer assembly issues, faster incoming inspection for the customer.
Case Study 2 — Tight-Tolerance Bracket (Dimensional Growth Management)
Part: 6061 bracket with slip-fit bores and datum faces used for alignment
Challenge: After anodize, bores measured undersize and alignment stack-up drifted
Applied 6061 anodizing best practices:
- Masked critical bores and defined masked datum pads
- Added a drawing note clarifying whether dimensions apply before or after anodize
- Set an anodize thickness target appropriate for corrosion need without excess growth
Result: Assembly fit restored without rework loops, improved first-pass yield.
Case Study 3 — Type III Hardcoat on Wear Interface (Performance > Cosmetics)
Part: 6061 component with sliding contact and abrasion exposure
Challenge: Customer needed wear resistance; appearance was secondary but cracking/chipping was not acceptable
Applied 6061 anodizing best practices:
- Selected Type III hard anodize thickness aligned with wear life needs
- Identified and masked press-fit interfaces
- Controlled edge geometry to reduce brittle edge chipping
- Confirmed thickness at defined test locations
Result: Improved wear performance in service and fewer failures related to dimensional growth or edge fragility.
H2: RFQ Checklist (What to Send JLYPT for Fast, Accurate Quoting)
If you want an accurate quote in hours—not days—send what actually drives anodizing outcomes.
Table 14 — RFQ inputs for anodized 6061 CNC parts
| RFQ item | Why it matters | Example |
|---|---|---|
| Alloy and temper | Impacts color and response | 6061-T6 |
| Anodize type | Defines thickness and process | Type II clear; Type II black; Type III hardcoat |
| Thickness requirement | Defines growth + performance | 10–15 μm; 25–50 μm |
| Color / dye requirements | Drives process control | Black; natural; clear |
| Cosmetic A-surface definition | Prevents disputes | A-surface: outer faces only |
| Masking list | Protects fits/threads | Mask M3 threads; mask Ø10H7 bore |
| Functional needs | Guides seal choice | Outdoor corrosion; wear; insulation |
| Quantity & schedule | Drives lot planning | Prototype vs production, delivery date |
| Inspection/reporting | Sets acceptance | Thickness records; defined sampling plan |
| For anodizing services and quoting workflow, use this internal page: | ||
| https://www.jlypt.com/custom-aluminum-anodizing-services/ |
H2: Practical “Best Practices” Summary (For Decision-Makers)
If you only remember a few rules from these 6061 anodizing best practices, use these:
- Standardize the CNC surface finish on A-surfaces (toolpath + handling).
- Treat masking as an engineered requirement (threads, bores, datum pads, ground points).
- Plan for dimensional growth—especially for Type III.
- Control racking to control thickness uniformity and visible witness marks.
- Define cosmetics and color acceptance with an A-surface map and an approved standard.
- Choose sealing deliberately based on corrosion, dye, and wear priorities.
- Request an inspection plan (thickness + critical-feature checks) if your parts must assemble immediately.