The Complete Guide to Anodizing Aluminum Parts: Color Options, Processes, and Engineering Applications
Introduction: Beyond Aesthetics – The Science of Anodized Aluminum Colors
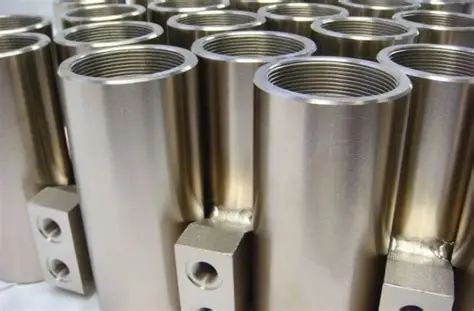
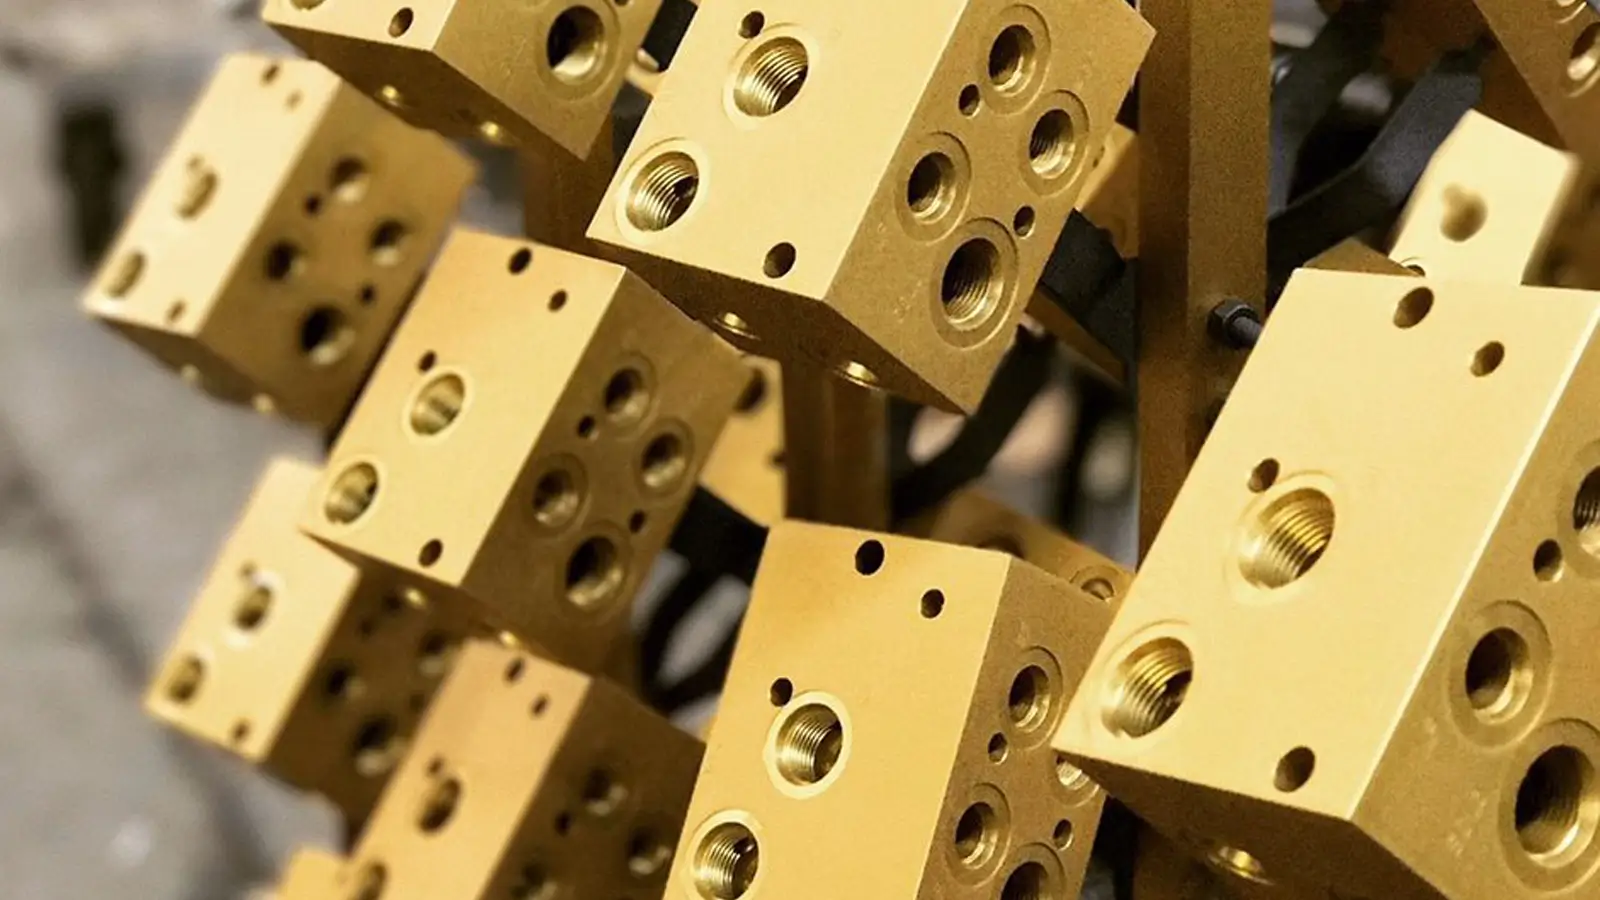
In the world of precision CNC machining, the journey from raw billet to finished component doesn’t end at the machine tool. For aluminum parts—which comprise over 60% of non-ferrous machined components—surface finishing represents a critical final chapter that determines functionality, durability, and aesthetic appeal. Among the myriad finishing options available, anodizing aluminum parts stands out as both an art and a science, offering engineers and designers an unparalleled combination of protection, performance, and color options that other processes simply cannot match.
At JLYPT CNC Machining, we’ve observed that while many manufacturers understand anodizing’s basic protective benefits, few fully appreciate the sophisticated color science and engineering considerations behind successful anodized finishes. The process represents a remarkable intersection of electrochemical engineering, metallurgy, and color theory—transforming the naturally occurring aluminum oxide layer from a thin, transparent film into a thick, porous structure capable of accepting vibrant dyes while providing exceptional corrosion and wear resistance.
This comprehensive guide delves beyond surface-level discussion to explore the technical nuances of aluminum anodizing, with particular focus on the diverse color options available to engineers and designers. We’ll examine the electrochemical principles behind different anodizing types, the material science considerations for achieving consistent colors, and practical application case studies from industries ranging from aerospace to consumer electronics. Whether you’re developing medical devices requiring biocompatible colored finishes or architectural components demanding both aesthetics and decades of weather resistance, understanding the full spectrum of anodizing possibilities will empower you to make informed decisions that elevate your product’s performance and market appeal. Discover how our integrated approach to machining and finishing at JLYPT CNC Machining Services ensures your components achieve both precise dimensions and perfect finishes.
Electrochemical Foundations: How Anodizing Creates the Canvas for Color
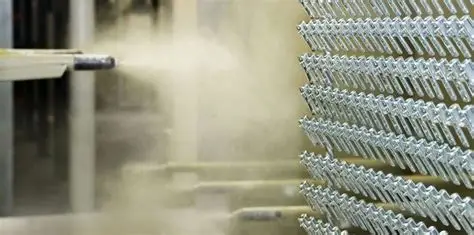
To truly understand anodizing aluminum parts color options, one must first grasp the electrochemical fundamentals that make coloring possible. Anodizing is an electrolytic passivation process that thickens and toughens the naturally occurring oxide layer on aluminum surfaces. Unlike plating, which adds a separate material layer, anodizing transforms the base aluminum itself, creating an integral, bonded coating that won’t chip or peel.
The process begins with meticulous cleaning and etching of machined aluminum components to remove oils, machining residues, and surface imperfections. The parts are then immersed in an acid electrolyte bath—typically sulfuric acid for most color applications—and subjected to a controlled electrical current. Aluminum serves as the anode (hence “anodizing”), with cathodes positioned within the bath completing the circuit.
As current flows, oxygen ions migrate to the aluminum surface, reacting with aluminum atoms to form aluminum oxide. This growth occurs in two distinct phases: a thin barrier layer forms immediately at the metal-oxide interface, followed by the development of a thicker porous layer characterized by a highly ordered hexagonal cell structure. It’s these microscopic pores—typically 10-150 nanometers in diameter—that provide the gateway for color introduction.
The thickness of this anodized layer varies according to application requirements:
-
Decorative applications: 5-15 microns
-
Architectural/industrial applications: 15-25 microns
-
Hardcoat applications: 25-100+ microns
The relationship between anodizing parameters and resulting pore structure directly influences color outcomes. As research published in the Journal of Materials Engineering and Performance demonstrates, pore diameter and density can be precisely controlled through adjustments to electrolyte concentration, temperature, voltage, and process duration—each variable offering engineers specific levers to optimize the substrate for subsequent coloring processes.
Type II vs. Type III Anodizing: Understanding Your Foundation Options
Before selecting specific color options for anodizing aluminum parts, engineers must first choose between the two primary anodizing processes that serve as foundations for coloring: Type II (sulfuric acid) and Type III (hardcoat) anodizing. This fundamental decision impacts not only color possibilities but also mechanical properties, dimensional considerations, and final part performance.
Type II Anodizing: The Color Specialist’s Canvas
Type II anodizing, employing a sulfuric acid electrolyte bath at moderate concentrations (typically 10-20% by weight) and temperatures (18-22°C), produces a porous oxide layer ideally suited for dye absorption. The process operates at lower voltages (12-18 VDC) than hardcoat anodizing, resulting in a coating that maintains the aluminum substrate’s precise dimensions—an essential consideration for CNC-machined parts with tight tolerances. Type II coatings typically range from 5 to 25 microns in thickness, offering excellent corrosion resistance while maximizing color vibrancy and clarity. The relatively open pore structure facilitates deep, uniform dye penetration, making Type II the preferred process for applications where aesthetic appeal is paramount alongside functional protection.
Type III Anodizing: Durability First, Color Second
Type III or “hardcoat” anodizing utilizes more aggressive process parameters—lower temperature electrolytes (often near freezing) and higher voltages (up to 75 VDC)—to produce an exceptionally dense, wear-resistant oxide layer. The resulting coating exhibits significantly greater hardness (often exceeding Rockwell 60C on the C scale), superior abrasion resistance, and enhanced thermal and electrical insulation properties. While Type III anodizing can accept dyes, the smaller pore structure limits color intensity and consistency compared to Type II. Consequently, hardcoat anodizing is typically specified in its natural dark gray color or with limited color options when both extreme durability and color coding are required simultaneously.
Table 1: Comparative Analysis of Type II vs. Type III Anodizing for Colored Applications
| Parameter | Type II (Sulfuric Acid) Anodizing | Type III (Hardcoat) Anodizing | Implications for Color Applications |
|---|---|---|---|
| Typical Thickness Range | 5-25 microns | 25-100+ microns | Thicker Type III coatings absorb more dye but may appear darker/muddier |
| Electrolyte Temperature | 18-22°C | 0-10°C | Lower temperatures in Type III create smaller pores, reducing dye capacity |
| Process Voltage | 12-18 VDC | Up to 75 VDC | Higher voltages create denser structures with different light-reflective properties |
| Pore Diameter | 10-30 nm | 5-15 nm | Larger pores in Type II allow deeper dye penetration and more vibrant colors |
| Color Intensity | High (excellent dye absorption) | Moderate (limited dye absorption) | Type II offers broader, more vibrant color options |
| Best Color Results | All dye colors, especially bright tones | Darker shades (black, dark brown, dark red) | Color selection should match anodizing type for optimal results |
| Dimensional Impact | Minimal (1/3 to 1/2 coating thickness grows inward) | Significant (1/2 coating thickness grows outward) | Type III requires pre-machining adjustments for dimensional parts |
| Typical Applications | Consumer electronics, architectural trim, medical devices | Military equipment, hydraulic components, wear surfaces | Application requirements should drive process selection |
The Spectrum of Coloring Technologies: From Dyes to Interference Effects
Once the anodized pore structure has been created, three primary methods introduce color to anodizing aluminum parts, each with distinct mechanisms, advantages, and limitations. Understanding these coloring technologies enables engineers to select the optimal approach for specific performance requirements and aesthetic goals.
1. Adsorption Dye Coloring: The Standard for Vibrancy
The most common coloring method involves immersing anodized parts in organic or inorganic dye solutions. These dye molecules physically adsorb into the porous oxide structure through a combination of capillary action and electrostatic attraction. Organic dyes, derived from chemical compounds, offer an exceptionally broad spectrum of vibrant colors but may exhibit limited UV stability. Inorganic dyes, typically metallic salts, provide superior lightfastness and heat resistance but a more limited color palette concentrated in earth tones. Dye concentration, solution temperature (typically 40-65°C), immersion time (2-15 minutes), and pH all require precise control to achieve batch-to-batch color consistency. Following dye absorption, a sealing process closes the pores, trapping the color molecules within the oxide matrix.
2. Electrolytic Coloring: The Industrial Workhorse
Also known as two-step anodizing or integral coloring, this process introduces metallic salts (typically tin, nickel, or cobalt) into the pore structure through an additional electrolytic process after anodizing but before sealing. The parts are immersed in a metal salt solution, and an alternating current deposits metallic particles at the base of the pores. By controlling voltage and time, technicians can achieve various shades from pale bronze to deep black. Electrolytic coloring excels in applications requiring exceptional UV stability and weather resistance—characteristics that make it the preferred method for architectural applications. The metallic nature of the coloring produces characteristic bronze and black shades rather than the full spectrum available through dye processes.
3. Interference Coloring: Advanced Optical Engineering
The most technically sophisticated coloring method utilizes light interference phenomena rather than pigment absorption. Through precise control of the anodizing process—particularly voltage modulation—engineers can manipulate the pore depth and structure to create specific optical path differences. When light reflects from both the top surface and the pore base, constructive and destructive interference generates colors similar to those observed in oil films or butterfly wings. These “interference colors” shift with viewing angle (exhibiting iridescence) and offer exceptional permanence since the color derives from physical structure rather than chemical pigments. Although complex to control consistently, interference coloring finds applications in specialized optical components, decorative trim with unique visual effects, and security features where color shifting provides authentication.
4. Combined Processes: Specialized Applications
Advanced applications sometimes combine these coloring technologies. For instance, “impregnation” processes first create a porous anodized layer, then electrolytically deposit metallic particles, followed by organic dye absorption—resulting in unique color effects with specific functional properties. Such hybrid approaches demonstrate the remarkable versatility of anodizing as a coloring platform when engineering requirements extend beyond standard applications.
The Aluminum Alloy Variable: How Base Material Influences Color Outcomes
A frequently overlooked aspect of achieving consistent color options in anodizing aluminum parts is the profound influence of the base aluminum alloy itself. Not all aluminum alloys anodize equally, and material selection represents the first critical decision point in the color anodizing workflow. The alloy’s chemical composition, heat treatment condition, and even grain structure established during CNC machining all contribute to final color appearance.
Silicon’s Graying Effect
Aluminum alloys containing silicon as a primary alloying element (particularly 4xxx and cast 3xx.x series alloys) present significant challenges for color anodizing. During anodizing, silicon particles either remain unoxidized or form inclusions within the oxide layer, creating microscopic discontinuities that scatter light. This produces a characteristic gray or “smutty” appearance that mutes color vibrancy. For applications requiring bright, clear colors, silicon-bearing alloys should generally be avoided unless specific processing modifications (such as extended etching or special desmut treatments) are implemented.
Copper’s Yellow/Brown Influence
Alloys containing copper (primarily 2xxx series) develop yellow to brown undertones during anodizing as copper ions incorporate into the oxide matrix. While this can be advantageous for achieving warm earth tones without dyes, it creates challenges for achieving pure blues, greens, or bright reds. The copper content also makes these alloys more susceptible to corrosion in the anodizing bath if process parameters aren’t carefully controlled.
Magnesium and Magnesium-Silicon Alloys: The Colorist’s Canvas
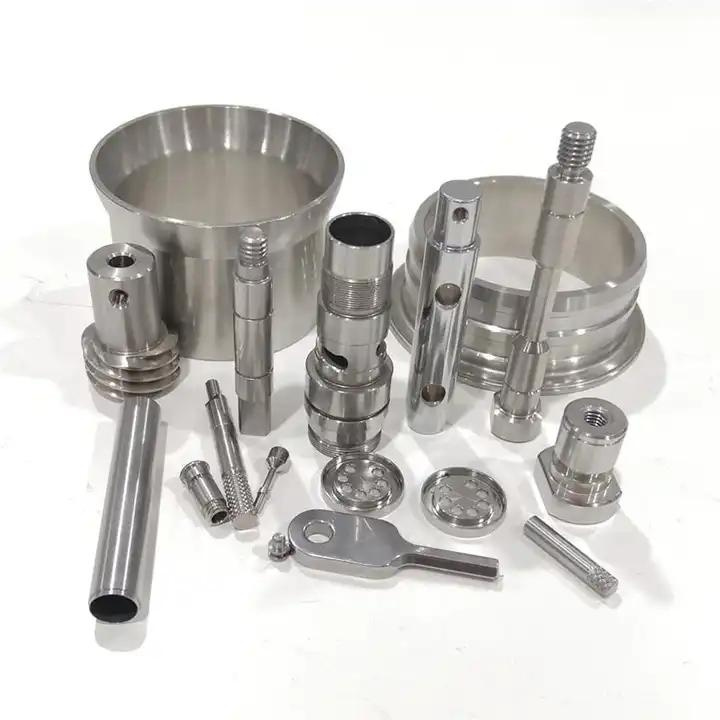
The 5xxx (magnesium) and 6xxx (magnesium-silicon) series alloys represent the ideal substrates for color anodizing. Their relatively pure aluminum matrices and homogeneous microstructures produce clear, transparent oxide layers that serve as perfect canvases for dyes. 6061, in particular—the workhorse alloy of CNC machining—offers excellent anodizing characteristics with minimal color distortion, predictable dimensional behavior, and good corrosion resistance of the underlying substrate.
High-Purity Aluminum: Optical Clarity
For the most demanding optical and decorative applications where absolute color purity and clarity are essential, 1xxx series (99%+ pure aluminum) or specially formulated anodizing grades like 1100 or 1350 provide the ultimate foundation. Their minimal alloying content produces exceptionally transparent oxide layers that transmit dye colors with minimal distortion. The trade-off comes in mechanical properties—these alloys lack the strength of their heat-treatable counterparts, making them unsuitable for structural components.
Surface Finish Interactions
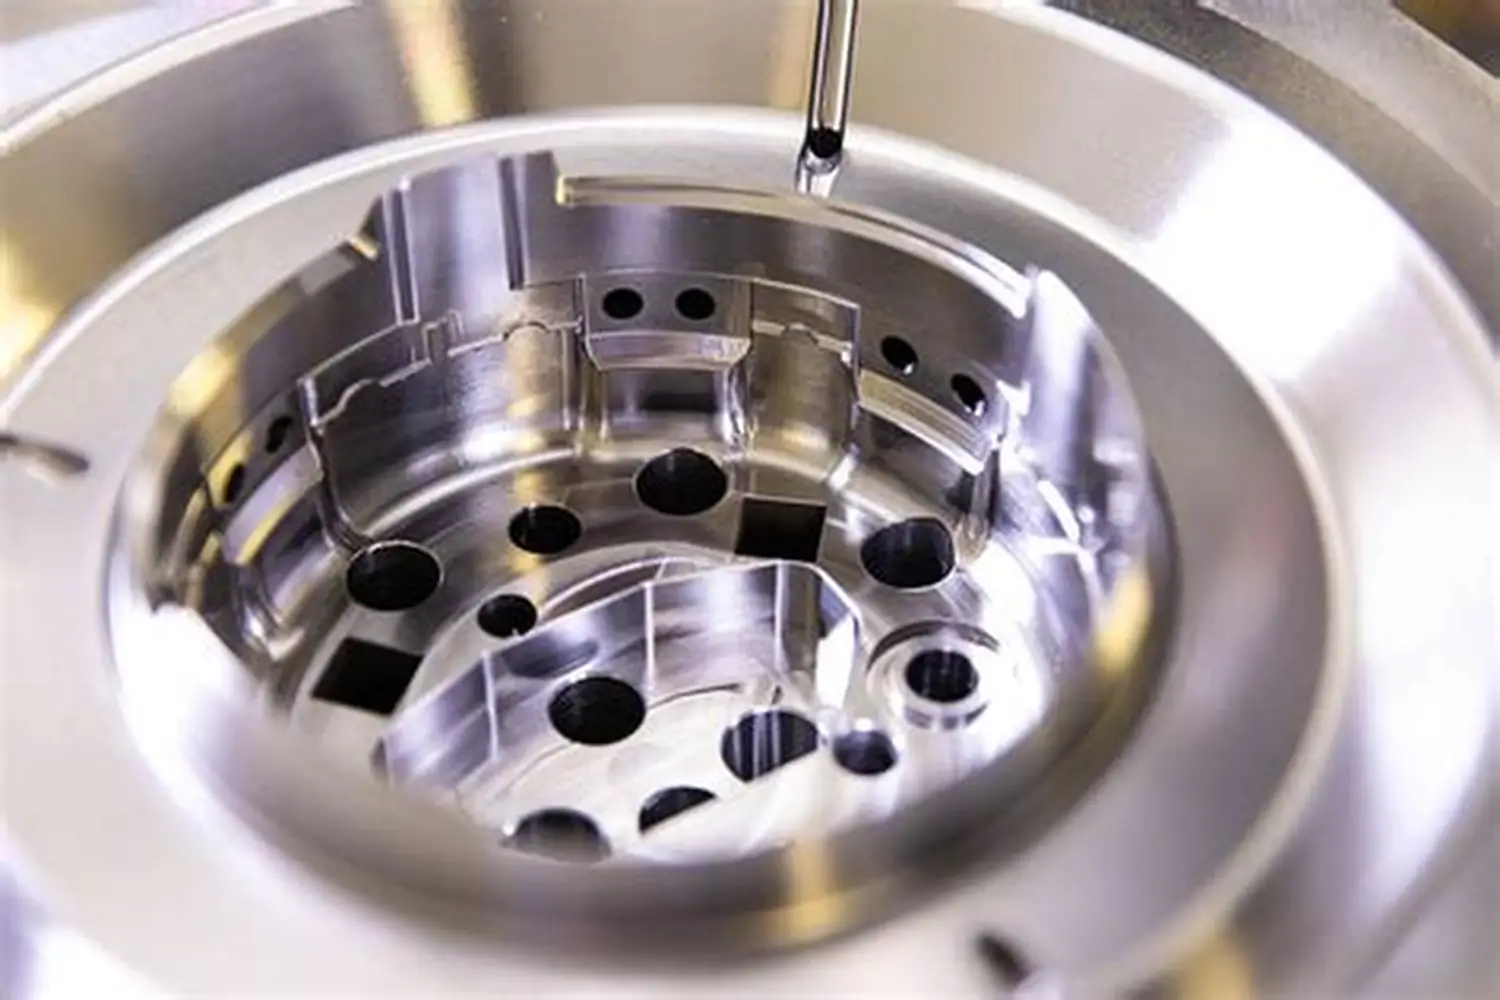
The starting surface finish of CNC-machined parts profoundly influences final anodized appearance. Milled surfaces retain visible tool marks that become emphasized after anodizing. Bead-blasted or media-finished surfaces produce matte appearances that diffuse light and soften colors. Mechanically polished or buffed surfaces yield reflective finishes that amplify color vibrancy but highlight any surface imperfections. Chemical brightening before anodizing creates the highest reflectivity and color clarity but adds process steps and cost. At JLYPT, we coordinate machining strategies with intended finish requirements, selecting appropriate toolpaths, stepovers, and final machining operations to create the optimal substrate for the specified anodized finish.
Color Specification and Control: From Pantone to Performance Metrics
Translating design intent into consistent, production-ready anodized finishes requires a formalized specification and control framework. Unlike applied coatings with standardized color systems, anodized colors present unique challenges for specification and quality control due to their interaction with both the aluminum substrate and viewing conditions.
The Substrate-Color Interaction Challenge
Anodized colors are translucent rather than opaque—light penetrates the colored oxide layer, reflects off the aluminum substrate, and returns through the color layer to the viewer. This means the same dye applied to different aluminum alloys (or even the same alloy with different surface finishes) will produce perceptibly different colors. A bright dipped (chemically polished) surface will produce more vibrant colors than an etched or bead-blasted surface using identical dye parameters.
Specification Systems and Standards
Several approaches exist for specifying anodized colors:
-
Physical Master Samples: The most reliable method for critical applications involves approving physical samples that establish the acceptable color range. These masters should be produced using the exact alloy, surface finish, anodizing type, and thickness intended for production.
-
Pantone Matching System (PMS) References: While not originally developed for anodizing, PMS numbers provide a useful communication tool, particularly during design phases. Successful implementation requires creating a correlation between PMS colors and achievable anodized colors on specific substrates.
-
Colorimetric Measurements: For quantitative control, spectrophotometers measure color in three-dimensional color spaces such as CIE L*a*b. The L axis represents lightness (0=black, 100=white), a* represents red-green position, and b* represents yellow-blue position. Color tolerance is typically defined as a maximum allowable ΔE (delta-E) value—the calculated total color difference between sample and standard.
-
Military and Industry Standards: Specifications such as MIL-A-8625, AMS 2469, and ASTM B580 provide standardized requirements for anodizing processes and, in some cases, specific color requirements for applications like military identification or aerospace components.
Process Control for Color Consistency
Maintaining batch-to-batch color consistency requires rigorous control of numerous process variables:
-
Alloy consistency: Material certifications and traceability
-
Pre-treatment uniformity: Cleaning, etching, and desmutting parameters
-
Anodizing parameters: Electrolyte concentration, temperature, current density, and time
-
Dye process: Solution concentration, pH, temperature, immersion time, and agitation
-
Sealing process: Method (hot water, nickel acetate, etc.), temperature, time, and water quality
Even with excellent process control, natural variations in aluminum alloy composition (within specification limits) can produce perceptible color variations. For large projects or multi-component assemblies, batch processing of all components from the same material lot is recommended.
Application Case Studies: Anodized Colors Solving Engineering Challenges
Case Study 1: Medical Device Instrumentation – Functional Color Coding
-
Challenge: A surgical robotics company needed to manufacture a suite of laparoscopic instruments requiring immediate visual differentiation in operating environments while maintaining absolute biocompatibility, autoclavability, and wear resistance.
-
Solution Analysis: Powder coating offered color variety but risked chipping and introduced biocompatibility questions. Physical vapor deposition (PVD) provided durability but limited color options at prohibitive cost. Type II anodizing with FDA-approved organic dyes was selected for its integral coating (no risk of delamination), proven biocompatibility, and ability to withstand repeated autoclave cycles. The porous anodized layer was sealed with mid-temperature nickel acetate to maximize corrosion resistance without compromising dye stability.
-
JLYPT Implementation: We machined the intricate instruments from 6061-T6 aluminum using 5-axis CNC systems to achieve the necessary precision. After machining, components underwent Type II anodizing to 12-15 microns thickness, followed by immersion in specialized medical-grade dyes. Each instrument type received a distinct color: grasping instruments in blue, cutting instruments in green, and cautery instruments in orange—creating an intuitive color-coded system for surgical teams. The final sealing process ensured no dye leakage during sterilization. The solution reduced surgical setup errors by 30% while meeting all regulatory requirements for reusable medical instruments.
Case Study 2: Aerospace Avionics Enclosure – EMI Shielding with Visual Status Indicators
-
Challenge: An avionics manufacturer required enclosure components that provided electromagnetic interference (EMI) shielding while incorporating permanent, non-fading status indicators visible in cockpit lighting conditions ranging from direct sunlight to instrument panel illumination.
-
Solution Analysis: Conductive paints compromised shielding effectiveness. Traditional labels and decals degraded under UV exposure and abrasion. Interference-based anodizing was selected for its permanent integration with the aluminum substrate, maintaining the enclosure’s Faraday cage integrity while creating iridescent color effects that remained visible across lighting conditions. The specific interference colors were engineered to indicate different functional zones of the enclosure without requiring secondary labeling.
-
JLYPT Implementation: We precision-machined the complex enclosure components from 7075-T6 aluminum for strength-to-weight ratio. Before anodizing, critical sealing surfaces were masked. The interference anodizing process utilized precisely controlled voltage ramping to create specific oxide thicknesses producing blue-violet for communication modules, gold-green for processing units, and red-orange for power interfaces. The anodizing thickness was precisely controlled at 18-20 microns to maintain dimensional tolerances while achieving the target optical effects. The resulting components provided 60dB of EMI shielding at critical frequencies while eliminating maintenance associated with fading labels or damaged decals.
Case Study 3: Architectural Facade System – Weather Resistance with Aesthetic Consistency
-
Challenge: A global architecture firm specified large-scale aluminum facade components requiring identical appearance across 5,000+ individual panels manufactured over 18 months, with guaranteed 25-year resistance to coastal salt exposure, UV degradation, and industrial pollution.
-
Solution Analysis: Organic dyes offered initial color matching but showed unacceptable UV fading in accelerated testing. Powder coatings provided good initial match but showed inconsistent weathering across production batches. Electrolytic (two-step) bronze anodizing was selected for its proven 40+ year track record in architectural applications, exceptional UV stability, and ability to mask minor alloy variations that affect dye-based processes.
-
JLYPT Implementation: We coordinated with extruders to supply 6063-T6 aluminum with tight compositional controls. After CNC machining of connection features, panels underwent cleaning, etching, and Type II anodizing to 20 microns. The electrolytic coloring process used tin-based chemistry with computerized amperage control to achieve the specified medium bronze shade (MIL-A-8625, Class 2, Color 622). Final sealing in nickel acetate solution at 95°C provided maximum corrosion resistance. Color consistency was monitored spectrophotometrically with ΔE<1.5 tolerance. The project demonstrated that with proper process controls, anodized aluminum can achieve aesthetic consistency at architectural scale while providing decades of maintenance-free performance even in aggressive environments.
Technical Limitations and Design Considerations for Anodized Colors
While offering remarkable versatility, anodized coloring presents specific technical limitations that engineers must incorporate into design planning.
Dimensional Considerations
Anodizing grows both inward into the substrate (approximately 1/3 to 1/2 of coating thickness) and outward from the original surface (the remaining thickness). For Type II anodizing, this typically means a 10-micron coating will consume approximately 3-5 microns of substrate while adding 5-7 microns to part dimensions. While generally insignificant for most applications, this becomes critical for parts with tight tolerances, interference fits, or threaded features. Design accommodations include:
-
Pre-machining critical dimensions slightly oversize (for inward growth) or undersize (for outward growth)
-
Masking threads, bearing surfaces, or sealing faces
-
Designing with tolerance stack-ups that accommodate coating thickness
Color Limitations by Anodizing Type
-
Type II: Virtually unlimited color options but with varying lightfastness. Bright reds and oranges typically show the poorest UV resistance.
-
Type III: Generally limited to darker shades—black, dark brown, dark red, dark blue. Light colors are not achievable with standard processes.
-
Electrolytic: Bronze to black spectrum only, with specific shades determined by metal salt chemistry and process time.
Process Sequence Constraints
Anodizing must typically occur after all machining operations are complete, as the coating will be damaged by subsequent mechanical processing. Exceptions include:
-
Partial masking for subsequent welding or bonding (with careful process design)
-
Post-anodizing laser marking that removes the coating in specific areas
-
Selective mechanical stripping of anodizing for electrical contacts
Electrical and Thermal Properties
Anodized aluminum is an electrical insulator—a consideration for components requiring grounding or electrical continuity. The coating also has lower thermal conductivity than bare aluminum, which may impact heat dissipation in thermal management applications.
Future Innovations in Anodized Coloring Technology
The science of anodizing aluminum parts color options continues to evolve, with several emerging technologies promising to expand the boundaries of what’s possible.
Nanostructured Optical Effects
Research in pulse anodizing and controlled electrolyte additives enables creation of specifically engineered nanostructures within the oxide layer. These can produce structural colors without dyes, potentially offering unlimited fade resistance and unique optical properties including polarization effects and angle-dependent color shifting beyond current interference capabilities.
Digital Color Control Systems
Advanced process control systems utilizing real-time spectrophotometry and automated chemical dosing promise to achieve unprecedented color consistency while reducing dye consumption and wastewater generation. These systems continuously monitor dye bath concentration and automatically adjust parameters to maintain specified color values.
Functional Hybrid Coatings
Combining anodizing with subsequent vacuum deposition processes creates hybrid coatings with unique properties. Examples include anodizing followed by atomic layer deposition (ALD) of transparent conductive oxides, creating colored surfaces with specific electrical properties for advanced sensor or display applications.
Enhanced Environmental Compatibility
Next-generation dye systems based on natural pigments and biodegradable compounds aim to maintain color performance while reducing environmental impact. Similarly, closed-loop anodizing systems with near-zero effluent discharge are becoming increasingly viable for high-volume applications.
Conclusion: Integrating Anodizing into Your Manufacturing Strategy
The world of anodizing aluminum parts color options represents a remarkable fusion of electrochemical science, materials engineering, and aesthetic design. From the subtle bronze of architectural facades to the vibrant color-coding of surgical instruments, anodizing delivers solutions that applied coatings simply cannot match in terms of durability, integration, and performance consistency.
Successful implementation requires viewing anodizing not as an afterthought, but as an integral component of the manufacturing process—beginning with material selection and machining strategy, continuing through meticulous process control, and culminating in verification against both aesthetic and functional requirements. The technical considerations explored in this guide—from alloy selection and anodizing type to coloring technology and process controls—provide a framework for making informed decisions that align finishing choices with engineering objectives.
At JLYPT CNC Machining, our integrated approach ensures that your components receive not just precision machining, but the comprehensive finishing expertise that transforms machined parts into complete, functional products. We invite you to explore how our combined capabilities in precision CNC machining and advanced anodizing services can elevate your next project. Visit our comprehensive service portal at JLYPT CNC Machining Services to submit your design for engineering review and discover how the right finishing strategy can enhance both the performance and perception of your products.