The Precision Blueprint: A Step-by-Step Guide on How to Automate a Production Line
Introduction: The Journey from Manual Operation to Autonomous Manufacturing
For precision manufacturers and machine shops, the drive to increase capacity, consistency, and competitiveness inevitably leads to a critical strategic question: how to automate a production line? This is not a simple task of buying robots; it is a fundamental re-engineering of workflow, culture, and technology. In an industry where tolerances are measured in microns and materials range from soft aluminum to hardened Inconel, automation must be implemented with surgical precision. A misstep can lead to catastrophic crashes, damaged high-value components, and stranded capital. However, when executed correctly, knowing how to automate a production line transforms a shop from a cost center battling labor shortages and variability into a predictable, high-output asset capable of 24/7 operation.
This guide provides a comprehensive, phase-gated framework for navigating this complex journey. We will move beyond generic advice to deliver a practical, technical blueprint tailored for CNC machining environments. From initial process mapping and ROI justification to the selection of robotic systems, integration of metrology, and the implementation of a Manufacturing Execution System (MES), we will cover every critical step. For a precision engineering partner like JLYPT, which supplies the foundational components for automated systems, we understand that success hinges on meticulous planning and execution. This article will equip you with the knowledge to build an automated line that not only runs but excels.
Phase 1: Foundation – Assessment, Strategy, and Design
Automation without a strategy is merely mechanization. This initial phase determines the entire project’s viability and scope.
Step 1: Process Mapping and Value Stream Analysis
Begin by meticulously documenting your current state. Film your existing process. Chart every single step a part takes, from raw material storage to shipped product.
-
Identify Non-Value-Added Time: The primary target for automation is Non-Value-Added (NVA) activity. This includes manual loading/unloading, part washing and deburring between operations, waiting for inspection, and manual packaging. Quantify these times. If a CNC machine’s spindle is only cutting 30% of the time, you have a 70% opportunity.
-
Define the Future State: Design your ideal flow. Can multiple operations (mill, turn, drill) be consolidated into a single 5-axis machining center or a mill-turn platform to reduce handling? Can a robot perform secondary tasks while the machine is in cycle?
Step 2: Part Family Analysis and Rationalization
Not all parts are created equal for automation. Analyze your product portfolio.
-
Group by Geometry and Process: Identify families of parts with similar size, weight, and required machining operations. Automation thrives on standardization.
-
Evaluate Grippability: Can the part be reliably gripped by a robot? Are there consistent datum surfaces or features for a vacuum cup or mechanical gripper? Parts may need minor redesign for Design for Automation (DfA), such as adding a small gripper ledge or standardizing fixture locating holes.
Step 3: Establishing KPIs and ROI Justification
Define success with measurable Key Performance Indicators (KPIs). Your financial model must be built on these:
-
Primary KPI: Overall Equipment Effectiveness (OEE). Target an increase from, for example, 40% to 85%. This combines availability, performance, and quality.
-
Throughput: Target a reduction in total part cycle time (e.g., from 15 minutes to 8 minutes).
-
Labor Productivity: Measure parts per employee per shift.
-
Quality: Target reduction in scrap/rework (e.g., from 5% to <1%).
-
ROI Calculation: The model should include: Capital costs (robots, machines, software), integration costs, increased revenue from higher capacity, labor cost savings/redeployment, and savings from reduced scrap. A compelling project typically has a payback period of 12-36 months.
Table 1: Automation Readiness Assessment Matrix
| Evaluation Dimension | High Readiness (Ideal for Automation) | Low Readiness (Requires Standardization First) |
|---|---|---|
| Part Volume & Mix | High-volume, low-mix OR defined families in high-mix, low-volume. | Extremely high-mix, completely one-off prototypes with no repetition. |
| Part Geometry | Consistent size, weight, and presence of grippable features. Stable, predictable cycle times. | Highly variable, delicate, or complex shapes with no standard orientation. |
| Process Stability | Well-documented, proven CNC programs with proven tooling and feeds/speeds. Low scrap rate. | Frequent engineering changes, process instability, or high manual intervention. |
| Current State OEE | Low (<50%), primarily due to manual load/unload and waiting times. | Already high (>70%), with limited NVA time to eliminate. |
| Organizational Culture | Leadership commitment, workforce openness to change, technical curiosity. | Resistance to change, siloed departments, lack of maintenance support. |
Phase 2: Architecture – Selecting and Integrating Core Technologies
This phase involves specifying the hardware and software that will form your automated line.
Step 4: Core Equipment Selection
-
CNC Machine Tools: For an automated line, prioritize machines with automated door openers, pallet changers, through-spindle coolant, and standardized machine interfaces (MTConnect, OPC UA). 5-axis machines are invaluable for completing parts in one setup.
-
Robotic Systems: Choose based on payload, reach, and environment.
-
Articulated 6-Axis Robots: For heavy payloads, complex paths (e.g., deburring), or tending multiple machines on a rail.
-
Collaborative Robots (Cobots): For safe, flexible deployment alongside humans for tasks like final assembly or loading a single machine.
-
Gantry Robots: For extremely high precision over a large area or for serving a linear array of machines.
-
-
Material Handling: This is the circulatory system. Options include:
-
Conveyors (Belt, Roller): For linear part movement.
-
Automated Guided Vehicles (AGVs)/Autonomous Mobile Robots (AMRs): For flexible, dynamic material routing.
-
Pallet Pool Systems: The gold standard for Flexible Manufacturing Systems (FMS), allowing unmanned machining of different parts on standardized fixtures.
-
Step 5: The Critical Role of Tooling and Fixturing
Precision automation fails with imprecise tooling. This is where the expertise of a partner like JLYPT is paramount.
-
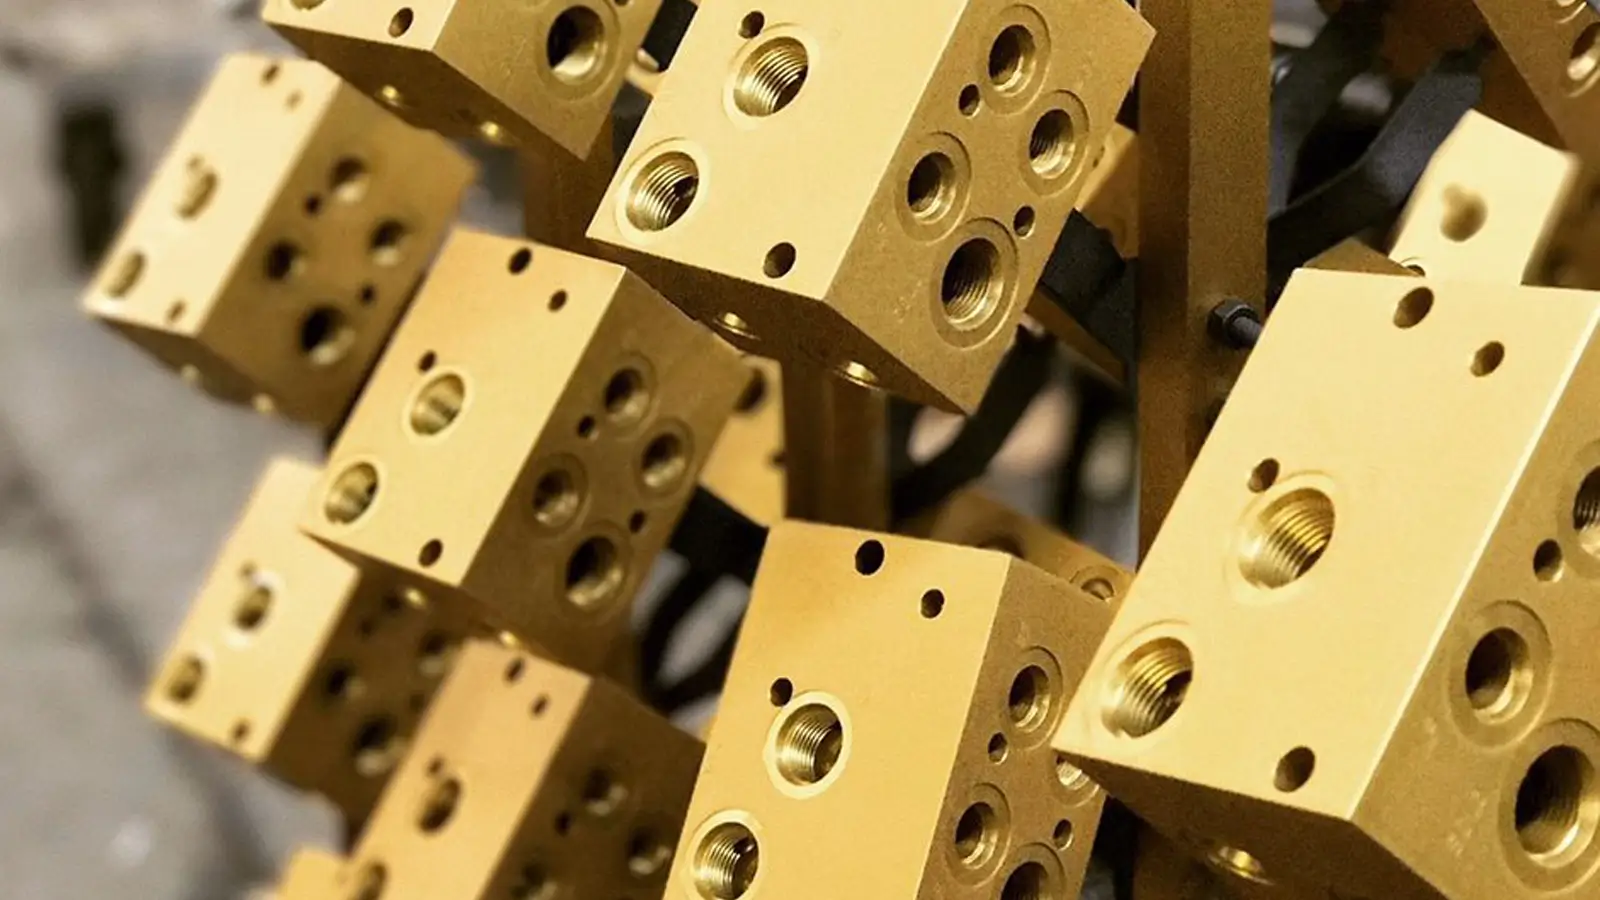
End-of-Arm Tooling (EOAT): Grippers must be custom-engineered for the part family. Options include pneumatic parallel grippers, hydraulic grippers for heavy parts, and vacuum systems for flat sheets. They must be lightweight yet rigid, often machined from aerospace aluminum.
-
Workholding and Fixturing: Zero-point clamping systems allow pallets or fixtures to be quickly and repeatably locked into position across multiple machines and stations with micron-level accuracy. Custom tombstones and vise arrays for machining centers must be designed for robot access.
Step 6: Sensory and Control Integration
Automation requires “eyes” and a “brain.”
-
Sensing: 2D/3D vision systems guide robots to pick randomly oriented parts. Laser profilometers measure part dimensions in-line. Force-torque sensors allow for compliant assembly or delicate insertions.
-
Control System: A Programmable Logic Controller (PLC) is the central nervous system, orchestrating the handshake between robot, CNC, and conveyors. It manages I/O signals (e.g., “Part Ready,” “Door Open”) and safety interlocks.
-
Software – The Digital Thread:
-
Manufacturing Execution System (MES): Tracks production orders, dispatches jobs to machines, collects machine and quality data, and provides real-time OEE dashboards.
-
Offline Programming (OLP) & Simulation: Software like RoboDK or Siemens Process Simulate allows you to build, program, and optimize the entire cell in a virtual environment, eliminating costly physical collisions and cycle time errors.
-
Table 2: Technology Stack for a Modern Automated Production Line
| System Layer | Key Components | Primary Function | Critical for Precision |
|---|---|---|---|
| Physical Layer | CNC Machines, Robots, AGVs, Conveyors, Precision Fixtures & EOAT. | Execute physical actions: cutting metal, moving parts, holding workpieces. | Dimensional accuracy and repeatability of machined fixtures and grippers determine system-level precision. |
| Sensory & Inspection Layer | Machine Vision, Laser Scanners, Touch Probes, Force Sensors. | Perceive the environment, locate parts, verify quality, provide feedback. | Enables adaptive control (e.g., tool wear compensation) and 100% in-process verification. |
| Control & Coordination Layer | PLC, Safety Relays, Network Switches (Ethernet/IP, PROFINET). | Sequence operations, manage safety interlocks, enable machine-to-machine communication. | Ensures deterministic timing and failsafe operation in a high-value environment. |
| Data & Intelligence Layer | MES, SCADA, OLP/Simulation Software, AI/ML Platforms. | Schedule production, collect & analyze data, simulate and optimize, enable predictive maintenance. | Transforms data into actionable intelligence for continuous improvement and lights-out decision making. |
Phase 3: Execution – Implementation, Commissioning, and Scaling
Step 7: Phased Implementation and “Crawl, Walk, Run”
Do not attempt to automate the entire factory at once.
-
Pilot Project: Select one manageable, high-ROI process cell (e.g., robotic tending of a single CNC mill). This de-risks the project, builds internal expertise, and creates a proof-of-concept.
-
Validate and Learn: Run the pilot extensively. Refine the processes, programming, and tooling. Train your maintenance and operational staff on this system.
-
Scale and Connect: Once the pilot is stable and profitable, replicate the model on another cell. Begin connecting cells via AGVs or conveyors, integrating them under a common MES to create a full line.
Step 8: Commissioning and Safety Validation
A rigorous commissioning process is non-negotiable.
-
Factory Acceptance Test (FAT): Witness the system run at the integrator’s facility before it is disassembled for shipment.
-
Site Acceptance Test (SAT): The system must prove itself in your facility, producing good parts at the promised cycle time and quality level.
-
Safety Certification: A risk assessment per ISO 12100 and compliance with ISO 10218 (Robots) and ISO 13849 (Safety Controls) is mandatory. This often requires physical guarding, light curtains, and safety-rated PLCs.
Step 9: Workforce Transformation and Change Management
Automation changes job roles, it doesn’t eliminate them.
-
Upskilling: Train machinists to become automation technicians, cell supervisors, and data analysts. Their process knowledge is invaluable for optimizing the automated system.
-
Clear Communication: Involve the team from the start. Explain the why—to make the business stronger and their jobs more engaging and less physically taxing.
Phase 4: Case Studies in Production Line Automation
Case Study 1: High-Mix Job Shop Implements Flexible Automation
-
Challenge: A contract machine shop had 20 different small-to-medium part families. Manual loading and frequent setup changes were killing profitability.
-
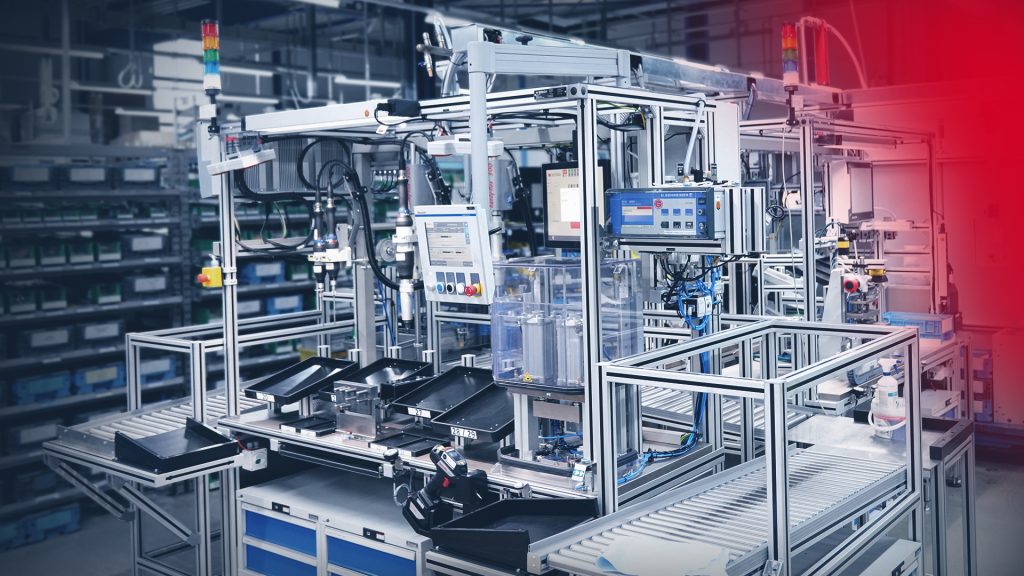
Solution: They implemented a flexible manufacturing cell centered on a 5-axis CNC machining center with a dual-pallet changer. A cobot on a mobile base was equipped with a tool changer holding different grippers. The MES would schedule a batch of parts, and the cobot would be wheeled to the cell, where it would load raw blanks from a smart cart onto one pallet while the machine ran parts on the other.
-
Outcome: Machine utilization (OEE) increased by 60%. The same cobot could service other machines, making the automation asset highly flexible. Changeover time for new batches was cut by over 75%.
Case Study 2: Medical Device Manufacturer’s Automated Finishing Line
-
Challenge: After CNC machining, titanium implants required polishing, cleaning, anodizing, and laser marking—a manual, labor-intensive sequence with contamination risk.
-
Solution: A fully automated, cleanroom-compatible line was built. AGVs carried trays of parts between enclosed, automated stations: a robotic polishing cell, a multi-stage ultrasonic washer, an anodizing line with robotic racking, and a laser marker. Every part was tracked via RFID.
-
Outcome: Throughput increased by 300%, with zero human handling post-machining, ensuring sterility. Full traceability was achieved for FDA compliance, and labor was shifted to supervision and process engineering.
Case Study 3: Automotive Supplier’s Lights-Out Machining Line
-
Challenge: A supplier of aluminum brake calipers needed to triple output for a new electric vehicle contract.
-
Solution: A lights-out production line was constructed. Raw forgings were loaded onto pallet fixtures by a gantry robot. An FMS with four horizontal machining centers processed the pallets. Finished calipers were automatically unloaded, measured by an in-line CMM, and packed by another robot. The entire line was controlled by an MES and could run unattended for two full shifts.
-
Outcome: The line achieved over 90% OEE and paid for itself in 22 months through labor savings and increased sales capacity. It provided a decisive competitive advantage in securing the contract.
Conclusion: Building Your Autonomous Future
Understanding how to automate a production line is the most critical strategic competency for a modern manufacturer. It is a disciplined journey of analysis, design, integration, and cultural adaptation. The goal is not to create a factory without people, but to create a factory where people and machines each do what they do best: machines handle repetition, precision, and endurance; people handle strategy, innovation, exception management, and continuous improvement.
For companies like JLYPT’s clients, the journey begins with a single, well-chosen step. By following this phased blueprint—starting with a thorough assessment, building on a foundation of precision tooling and robust control systems, and scaling with careful validation—you can systematically de-risk the process and build an automation strategy that delivers not just incremental gains, but a transformative leap in capability and competitiveness.
Ready to begin architecting your automated production line? Contact JLYPT today. Let’s discuss how our expertise in manufacturing the mission-critical, high-precision components that form the backbone of any reliable automation system can help ensure your project’s success from the ground up.
For precision components that form the reliable foundation of any automation system, explore JLYPT CNC Machining Services.