Precision Components for Optical Industry: Advanced CNC Machining Solutions
Introduction: The Critical Role of Precision Machining in Optical Applications
The optical industry represents one of the most demanding sectors for precision component manufacturing, where exceptional accuracy and uncompromising quality are non-negotiable requirements. Optical components form the fundamental building blocks of imaging systems, laser equipment, scientific instruments, and countless other applications that manipulate light with precision. As a specialized CNC machining service provider, we understand that optical components must perform flawlessly under varying conditions while maintaining precise geometries and superior surface characteristics.
In an industry where a single micron deviation can dramatically impact optical performance, manufacturers rely on suppliers who demonstrate consistent excellence across every aspect of their operations. The growing integration of optical systems across medical, defense, research, and consumer applications underscores the increasing importance of reliable, precision-focused manufacturing partners in the optical supply chain. This comprehensive guide explores the technical specifications, material considerations, and manufacturing approaches that define excellence in optical component manufacturing.
Understanding Optical Component Requirements
Extreme Precision and Tolerances
Optical systems and instruments demand exceptional dimensional stability and sub-micron accuracy that push the boundaries of conventional machining capabilities. Components must maintain precise geometries under varying operational conditions, with thermal stability being particularly critical in applications involving lasers or fluctuating environments.
Table 1: Key Requirements for Optical Components
| Requirement | Technical Specification | Impact on Optical Performance |
|---|---|---|
| Dimensional Accuracy | ±0.001mm to ±0.005mm | Ensures precise optical alignment and focus |
| Surface Finish | 0.2μm to 0.8μm Ra | Minimizes light scattering and energy loss |
| Flatness/Parallelism | ≤0.003mm per 100mm | Maintains optical path integrity |
| Material Stability | Low thermal expansion coefficient | Preserves alignment across temperature ranges |
| Geometric Precision | True position within 0.005mm | Ensures correct component alignment in assemblies |
| Cleanliness | Minimal particulate generation | Preces contamination in sensitive optical systems |
The combination of these requirements creates unique manufacturing challenges that demand specialized expertise. As demonstrated by industry applications, optical components often require dedicated manufacturing approaches tailored to specific applications, including specialized surface treatments and unique material selections .
Common Optical Components and Their Functions
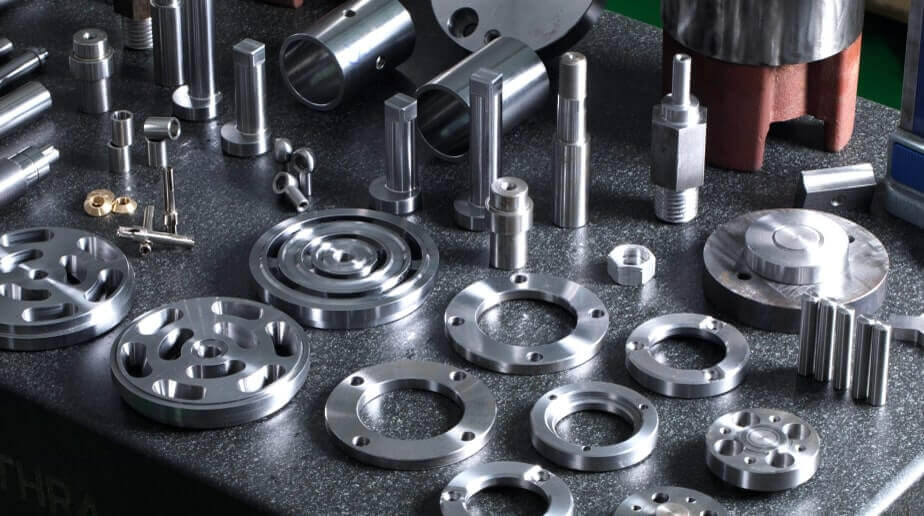
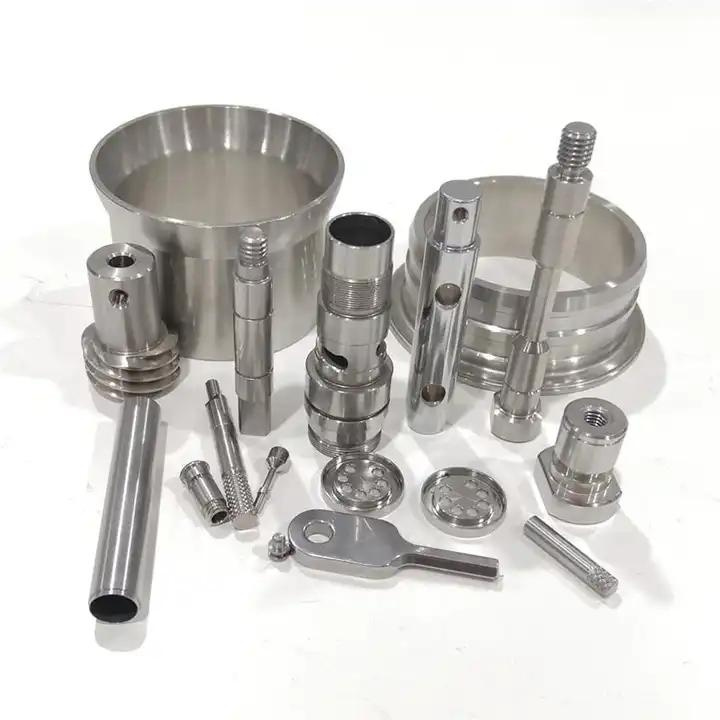
Optical systems incorporate numerous custom machined parts, each serving critical functions:
-
Lens Mounts and Barrels: Precisely position optical elements while maintaining alignment and minimizing stress
-
Mirror Mounts and Adjusters: Provide stable platforms for reflective elements with precise adjustment capabilities
-
Optical Benches and Platforms: Offer vibration-dampened, thermally stable bases for optical experiments
-
Laser System Components: Include laser rod housings, beam delivery systems, and cooling elements
-
Imaging System Parts: Comprise camera housings, sensor mounts, and optical adjustment mechanisms
Material Selection for Optical Applications
Engineering Materials for Demanding Environments
Selecting appropriate materials is crucial for optical components, as material properties directly impact performance, durability, and optical characteristics:
Table 2: Common Materials for Optical Components
| Material | Key Properties | Optical Applications | Machining Considerations |
|---|---|---|---|
| Aluminum Alloys | Excellent strength-to-weight ratio, good thermal conductivity, dimensional stability | Lens barrels, optical mounts, structural frames | High cutting speeds possible, requires sharp tools to prevent material adhesion |
| Stainless Steel | High strength, excellent corrosion resistance, non-magnetic variants available | Precision adjustment mechanisms, scientific instruments | Work-hardening tendency demands consistent feed rates and sharp tooling |
| Titanium Alloys | High strength-to-weight ratio, excellent corrosion resistance, low thermal expansion | Aerospace optical systems, portable instruments | Low thermal conductivity requires specialized tooling and cooling strategies |
| Copper Alloys | Excellent thermal conductivity, machinability | Laser heat sinks, thermal management components | Gumminess requires specialized tool geometries and surface treatments |
| Engineering Plastics | Low weight, vibration damping, electrical insulation | Insulating components, lightweight optical structures | Lower cutting forces, but require sharp tools to prevent deformation |
The manufacturing process for optical parts typically begins with material selection based on thermal properties, stability, and compatibility with optical systems. This careful selection process ensures that components will perform reliably in their intended operating environment while meeting stringent precision requirements .
Advanced Materials for Specialized Applications
As optical technology advances, manufacturers are increasingly turning to specialized materials that offer enhanced performance characteristics:
-
Invar and Low-Expansion Alloys: Exceptional thermal stability for applications requiring minimal dimensional change
-
Beryllium-Copper Alloys: Unique combination of strength, thermal conductivity, and non-magnetic properties
-
Ceramic Composites: Extreme hardness and thermal stability for demanding environments
-
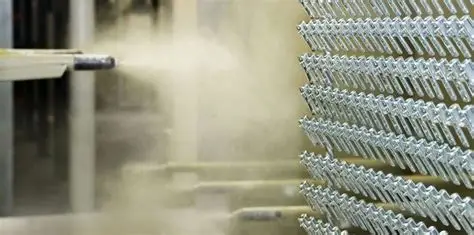
Specialized Surface Treatments: Coatings like anodizing, electroless nickel, and proprietary finishes that enhance surface properties
Advanced CNC Technologies for Optical Components
Multi-Axis Machining Capabilities
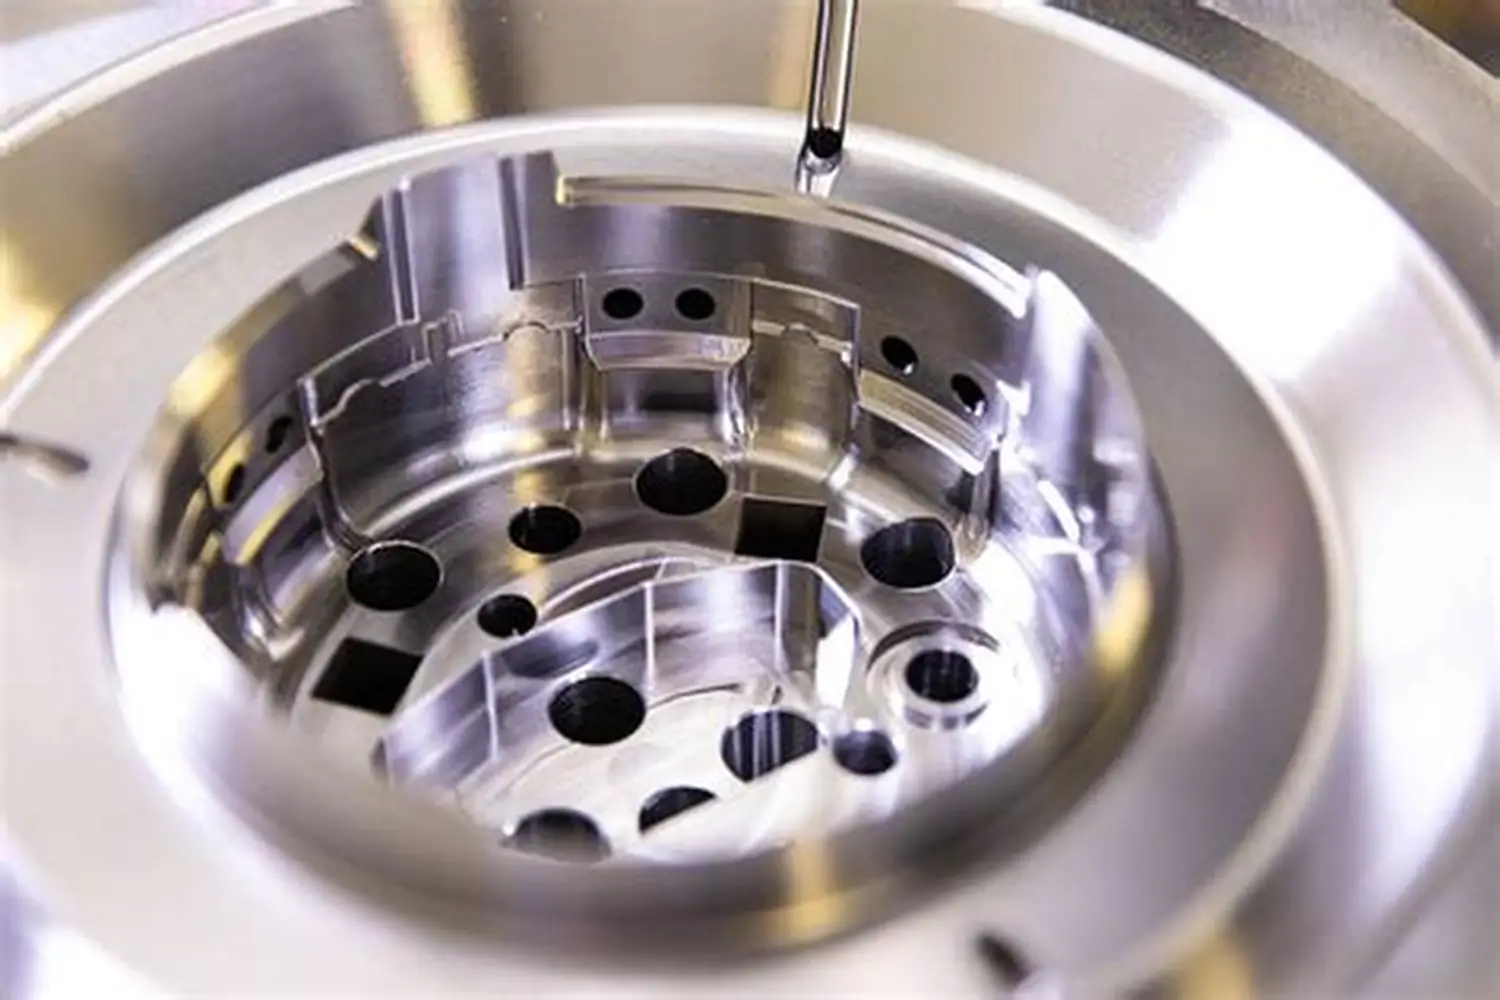
The evolution of multi-axis CNC systems has dramatically expanded possibilities for optical component manufacturing. Five-axis machining technology enables complete processing of complex geometries in single setups, eliminating cumulative errors associated with multiple repositioning operations and significantly improving accuracy.
This capability is particularly valuable for optical components with complex contours, deep cavities, or multiple compound angles that would be impractical to produce with conventional three-axis equipment. The technology has proven essential for everything from complex lens barrels and mirror mounts to specialized optical adjustment mechanisms .
Single-Point Diamond Turning Technology
Diamond turning represents a specialized machining process particularly suited for optical applications. This ultra-precision machining technique uses single-point diamond tips to achieve exceptional surface finishes and precise geometries directly on suitable materials.
As demonstrated by industry leaders like Edmund Optics, diamond turning can produce surface roughness values as low as 30Å RMS and can achieve various precision grades from commercial to high-precision applications with wavefront errors as low as λ/8 . This capability is particularly valuable for creating precise optical surfaces without additional processing.
Micro-Machining for Miniature Components
The trend toward miniaturization in optics has increased demand for micro-machining capabilities. Endoscopic medical devices, miniature sensors, and compact optical systems require extremely small components with tight tolerances:
-
Small Feature Machining: Producing details as small as 0.1mm with positional accuracy within 0.005mm
-
Micro-tooling Expertise: Specialized tooling with diameters from 0.1mm to 3.0mm
-
High-Speed Spindles: Capabilities up to 50,000 RPM for clean micro-feature generation
-
Advanced Workholding: Specialized fixtures that securely hold small components without distortion
Quality Assurance for Optical Components
Precision Measurement and Validation
Rigorous inspection protocols ensure optical components meet precise dimensional and quality requirements before delivery. Optical systems demand exceptional accuracy to function properly, necessitating comprehensive measurement strategies:
-
Coordinate Measuring Machines (CMM): Volumetric accuracy up to 0.0003mm for complex geometric features
-
Optical Comparators: Rapid 2D feature verification without contact
-
Surface Roughness Analysis: Verification of surface finish specifications critical for optical performance
-
Interferometric Testing: Precise measurement of optical surfaces and wavefront errors
-
Custom Fixturing: Simulation of assembly conditions for functional validation
The manufacturing process for optical parts typically concludes with comprehensive quality inspection using advanced metrology equipment. This comprehensive approach to quality assurance ensures components will perform as intended in the final optical system .
Statistical Process Control for Consistency
Implementing statistical process control (SPC) methodologies throughout the manufacturing process ensures consistent quality across production runs:
-
First-Article Inspection: Comprehensive verification of all dimensions on initial parts
-
In-Process Controls: Regular measurement of critical dimensions at predetermined intervals
-
Capability Studies (Cp/Cpk): Quantitative assessment of process capability for all controlled dimensions
-
Full Traceability: Material certifications and process documentation for each production batch
Case Studies: Optical Component Manufacturing Excellence
Case Study 1: High-Precision Microscope Objective Lens Barrel
Challenge: An optical instrument manufacturer needed a precision lens barrel for a new high-resolution microscope objective. The component required exceptional dimensional stability, precise thread forms for lens elements, and minimal weight while maintaining rigid support for optical elements.
Solution: Our team implemented a multi-stage machining approach incorporating:
-
Five-axis simultaneous machining for complex internal and external geometries
-
Specialized tooling for precise lens seating surfaces and thread forms
-
Progressive machining strategy with stress relief between operations
-
Comprehensive measurement of all critical features using CMM and optical profiling
Results: The lens barrel achieved all dimensional requirements with seating surface flatness within 0.001mm and weight specifications within 2% of target values. The component demonstrated exceptional performance in optical testing, enabling the microscope system to achieve its designed resolution limits.
Case Study 2: Laser System Mirror Mount Assembly
Challenge: A laser equipment manufacturer needed precision mirror mounts for a new high-power laser system. The components required exceptional thermal stability, precise adjustment capabilities, and the ability to maintain alignment under thermal cycling.
Solution: We developed a specialized machining process featuring:
-
Stress-relieved aluminum material with certified thermal properties
-
Specialized tool paths to maintain dimensional stability during machining
-
Precision boring for bearing surfaces with tolerances within 0.005mm
-
Thermal cycling tests to verify performance under operating conditions
Results: The mirror mounts met all functional requirements with complete documentation for traceability. The precise dimensional control ensured smooth adjustment operation, and the components maintained alignment stability through extensive thermal testing.
Case Study 3: Aerospace Optical Platform Assembly
Challenge: A aerospace systems integrator needed a large optical platform for a satellite imaging system. The component required exceptional flatness, minimal weight, and compatibility with space environment conditions.
Solution: Our comprehensive approach included:
-
DFM analysis to optimize designs for manufacturability and performance
-
Large-format five-axis machining for the platform surface
-
Specialized tooling for precise mounting features
-
Surface treatments to enhance stability in thermal vacuum environments
-
Comprehensive metrology using laser tracking for large-scale accuracy
Results: The optical platform was delivered within the required timeframe and demonstrated exceptional performance in validation testing. The precision features enabled accurate component alignment, and the platform maintained dimensional stability through environmental testing.
The Future of Optical Component Manufacturing
Advanced Manufacturing Technologies
Emerging technologies are transforming optical component manufacturing capabilities:
-
AI-Driven Optimization: Machine learning algorithms that dynamically adjust machining parameters based on real-time sensor data
-
Hybrid Manufacturing: Combining additive and subtractive processes for optimized component structures
-
Digital Twin Technology: Virtual modeling of the manufacturing process to predict outcomes before physical cutting
-
Sustainable Machining Practices: Reducing energy consumption while maintaining quality standards
Industry 4.0 Integration
The adoption of Industry 4.0 principles is transforming optical component manufacturing through enhanced connectivity, data analytics, and digital workflow integration. These technologies support the creation of “digital twins” that simulate both manufacturing processes and component performance, reducing physical iteration requirements.
As demonstrated by forward-thinking manufacturers, the implementation of automated tool management and digital process control systems provides significant advantages in optical component manufacturing .
Conclusion: Partnering for Optical Manufacturing Success
Custom machined parts for the optical industry represent a specialized segment of precision manufacturing that demands both technical expertise and practical experience. The unique requirements of optical systems—exceptional precision, thermal stability, and optimized performance—make component manufacturing particularly challenging. However, with the right manufacturing partner, these challenges can be transformed into competitive advantages.
At our manufacturing facility, we’ve combined state-of-the-art CNC technology with deep optical industry knowledge to establish leadership in optical component manufacturing. Our comprehensive approach addresses every aspect of the manufacturing process, from initial design consultation through final inspection and delivery, with particular emphasis on quality assurance and documentation.
The case studies presented demonstrate our capability to solve complex manufacturing challenges while maintaining the highest standards for precision and reliability. As optical technology continues to evolve toward increasingly demanding applications, we remain committed to investing in advanced equipment and methodologies that enhance our optical manufacturing capabilities.
For your next optical component project, partner with a manufacturer that understands both the technical complexities and practical considerations of working with these exceptional systems. Contact us today to discuss how our custom machining capabilities for the optical industry can address your specific application requirements.

