The Complete Guide to Precision Grinding Services for Hardened Steel Components
Executive Summary
Precision grinding services for hardened steel represent the pinnacle of manufacturing excellence for components requiring exceptional dimensional accuracy, superior surface finishes, and strict geometrical tolerances. This advanced manufacturing process enables the production of hardened steel components with surface roughness values as low as Ra 0.1μm and dimensional tolerances within ±0.0001 inches (±0.0025mm), making it indispensable for applications across aerospace, automotive, medical device, and tooling industries. This comprehensive guide explores the technical capabilities, equipment requirements, and quality control processes that define world-class precision grinding services for hardened steels, providing engineering professionals and manufacturing decision-makers with the insights needed to select and implement the optimal grinding solutions for their most demanding applications.
1 Introduction to Precision Grinding of Hardened Steel
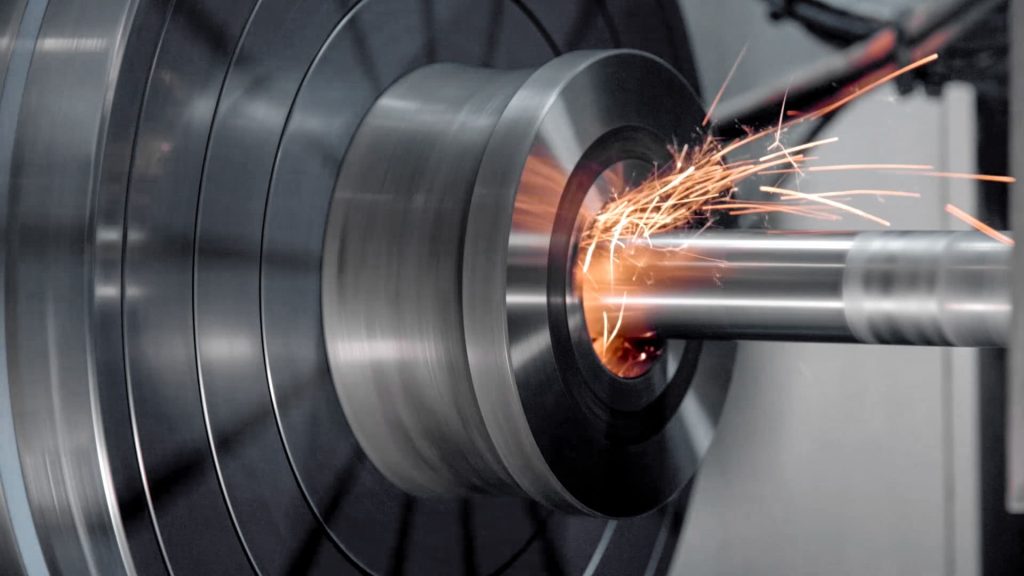
Precision grinding of hardened steel is a specialized manufacturing process that removes minute amounts of material from hardened components to achieve exceptional dimensional accuracy, geometrical perfection, and superior surface finishes. Hardened steels, typically with hardness values ranging from 45-70 HRC, present unique challenges for manufacturing due to their high strength, abrasive nature, and resistance to conventional machining processes. Precision grinding meets these challenges by employing abrasive grains bonded into wheels that cut through the hardened material with exceptional precision and control.
The significance of precision grinding for hardened steel extends across numerous industries where component performance, reliability, and longevity are critical. Aerospace components such as turbine shafts and landing gear elements require grinding to achieve the precise geometries and surface finishes necessary for safe operation under extreme conditions. Automotive applications include transmission components, fuel injection systems, and steering elements that must maintain precise tolerances through millions of operating cycles. Tool and die applications demand the exceptional accuracy and surface finish that only precision grinding can provide for mold surfaces, die components, and cutting tools.
The evolution of precision grinding technology has been driven by advancements in machine tool design, abrasive materials, control systems, and process monitoring. Modern CNC grinding machines incorporate linear motor drives, hydrostatic guideways, laser measurement systems, and adaptive control technologies that maintain micron-level precision throughout extended production runs. These advancements have transformed precision grinding from a manual finishing operation to a high-tech manufacturing process capable of achieving sub-micron accuracy and nanoscale surface finishes.
2 Technical Capabilities and Specifications
Precision grinding services for hardened steel offer exceptional technical capabilities that make them essential for manufacturing critical components where performance and reliability are paramount:
Dimensional Accuracy: Modern precision grinding machines can maintain tolerances within ±0.0001 inches (±0.0025mm) for critical dimensions, with typical production tolerances of ±0.0002 inches (±0.005mm) achievable consistently across production runs. This exceptional precision is maintained through temperature-controlled environments, vibration-damped foundations, and real-time compensation systems that account for thermal expansion, wheel wear, and machine deflection.
Surface Finish Quality: Precision grinding produces surface finishes typically in the range of Ra 0.1-0.4μm (4-16 μin) for standard production grinding, with fine grinding processes achieving Ra 0.025-0.1μm (1-4 μin) and ultra-precision grinding reaching Ra 0.01μm (0.4 μin) or better. The combination of precisely controlled grinding parameters, specialized wheel formulations, and advanced coolant delivery systems enables these exceptional surface finishes directly from the grinding process.
Geometrical Precision: Beyond dimensional accuracy, precision grinding achieves exceptional geometrical characteristics including flatness within 0.0001″ per inch, roundness within 0.000020″, cylindricity within 0.000040″, and parallelism within 0.000020″. These geometrical tolerances are critical for components that must interface precisely with other elements in assemblies or maintain exact relationships between functional surfaces.
Material Removal Capabilities: While precision grinding is typically associated with fine finishing operations, modern grinding processes can also remove significant amounts of material efficiently. Stock removal rates vary by material hardness and process type, with typical values ranging from 0.001-0.005 mm/pass for finishing operations to 0.01-0.05 mm/pass for rough grinding operations on hardened steels.
Table: Precision Grinding Capabilities for Hardened Steel
| Parameter | Standard Precision | High Precision | Ultra Precision | Application Examples |
|---|---|---|---|---|
| Dimensional Tolerance | ±0.0002″ (±0.005mm) | ±0.0001″ (±0.0025mm) | ±0.00005″ (±0.00125mm) | Aerospace bearings, gauge blocks |
| Surface Finish (Ra) | 0.4-0.8μm (16-32 μin) | 0.1-0.4μm (4-16 μin) | 0.025-0.1μm (1-4 μin) | Optical mounts, precision slides |
| Flatness | 0.0001″/in | 0.00005″/in | 0.00002″/in | Surface plates, sealing surfaces |
| Roundness | 0.000040″ | 0.000020″ | 0.000010″ | Spindle bearings, rotary tables |
| Material Removal Rate | 0.01-0.05 mm/pass | 0.005-0.02 mm/pass | 0.001-0.005 mm/pass | Roughing vs. finishing operations |
3 Grinding Processes for Hardened Steel
Different grinding processes are employed based on component geometry, production requirements, and precision specifications:
Surface Grinding: Precision surface grinding creates flat surfaces on hardened steel components with exceptional flatness and surface finish. This process utilizes horizontal spindle machines with reciprocating tables or vertical spindle machines with rotary tables depending on component size and production requirements. Modern surface grinding machines incorporate CNC controls for automated wheel dressing, adaptive control systems that maintain consistent grinding conditions, and laser measurement systems that verify dimensions in-process.
Cylindrical Grinding: Precision cylindrical grinding produces external cylindrical surfaces, tapers, and profiles on hardened steel components. This process includes between-centers grinding for maximum precision on shaft-type components, centerless grinding for high-volume production of cylindrical parts, and angular approach grinding for complex profiles and shoulders. Advanced cylindrical grinding machines feature wheelhead and workhead CNC control, automatic sizing systems, and in-process gaging that maintains tolerances through extended production runs.
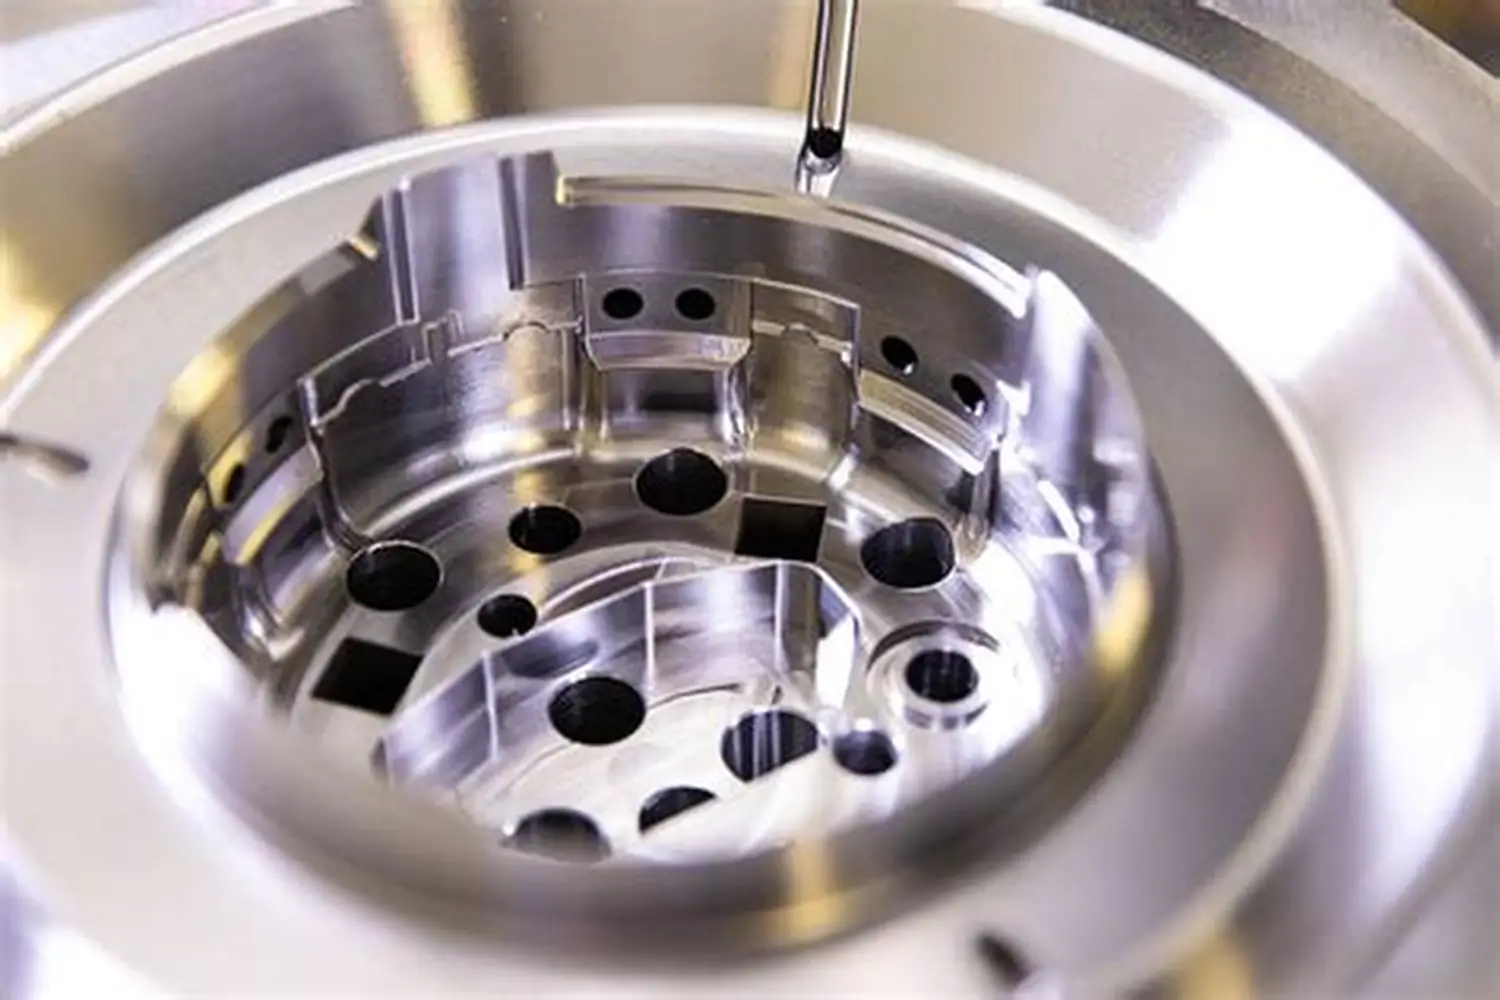
Internal Grinding: Precision internal grinding creates precise internal diameters, profiles, and surfaces in hardened steel components. This challenging process requires smaller grinding wheels that rotate at higher speeds to maintain proper cutting velocities. Modern internal grinding machines address these challenges with high-frequency spindles (up to 120,000 RPM), rigid machine structures that minimize vibration, and sophisticated coolant delivery systems that ensure efficient chip removal and thermal management.
Centerless Grinding: Precision centerless grinding produces cylindrical components without using fixed centers, making it ideal for high-volume production of precision parts. This process excels at achieving exceptional roundness, size control, and surface finish on long, slender components that would deflect between centers. Advanced centerless grinding machines incorporate CNC sizing systems, automatic loading, and adaptive control that compensates for wheel wear and thermal effects.
Profile and Form Grinding: Precision profile grinding creates complex geometries, forms, and contours on hardened steel components using specially dressed grinding wheels. This process utilizes CNC dressers that shape the grinding wheel with micron-level accuracy, optical measurement systems that verify form accuracy, and software compensation that adjusts the grinding path based on measurement feedback.
4 Equipment and Technology
Precision grinding of hardened steel requires specialized equipment designed to maintain accuracy, stability, and consistency:
Machine Tool Structure: Precision grinding machines feature granite bases and mineral casting structures that provide exceptional vibration damping, thermal stability, and rigidity . These materials offer superior dimensional stability compared to traditional cast iron, maintaining accuracy over extended periods and through varying environmental conditions. Hydrostatic guideways provide friction-free movement with exceptional straightness and flatness, while linear motor drives deliver precise positioning without backlash or wear-related inaccuracies.
Spindle Systems: High-precision spindles with hydrostatic or aerostatic bearings provide rotational accuracy better than 0.000020″ TIR (Total Indicator Reading) with minimal heat generation . These spindles maintain stiffness under varying load conditions, ensuring consistent performance through roughing and finishing operations. High-frequency spindles for internal grinding achieve speeds up to 120,000 RPM while maintaining precision and thermal stability.
Control and Measurement Systems: CNC control systems with nanometer-resolution feedback provide the precise axis control needed for micron-level accuracy. These systems incorporate adaptive control algorithms that adjust grinding parameters based on real-time feedback, thermal compensation that accounts for machine and environmental temperature variations, and wheel wear compensation that maintains accuracy as the grinding wheel wears. In-process gaging systems measure parts during grinding, allowing for closed-loop size control without operator intervention.
Coolant and Filtration Systems: High-pressure coolant systems deliver cutting fluid at pressures up to 1,000 psi to the grinding zone, providing efficient cooling, lubrication, and chip evacuation. Multi-stage filtration systems maintain coolant cleanliness with particles removed down to 1-2 microns, preventing surface damage from recirculated chips. Temperature control units maintain coolant temperature within ±1°F, minimizing thermal effects on the workpiece and machine structure.
Wheel Dressing Technology: CNC diamond roll dressers shape grinding wheels with micron-level accuracy, creating and maintaining precise forms throughout the wheel life. Laser measurement systems verify dresser position and wheel form, while adaptive dressing algorithms compensate for diamond wear and machine thermal growth.
Table: Precision Grinding Equipment Specifications
| Machine Type | Accuracy Capability | Surface Finish (Ra) | Typical Applications | Key Features |
|---|---|---|---|---|
| Surface Grinder | ±0.0001″ (±0.0025mm) | 0.1-0.4μm (4-16 μin) | Flat surfaces, slots, grooves | Granite base, hydrostatic ways, laser calibration |
| Cylindrical Grinder | ±0.00005″ (±0.00125mm) | 0.1-0.4μm (4-16 μin) | Shafts, bearings, rollers | Between-centers, centerless, in-process gaging |
| Internal Grinder | ±0.0001″ (±0.0025mm) | 0.2-0.8μm (8-32 μin) | Bore, holes, internal profiles | High-frequency spindle, small wheel capability |
| Centerless Grinder | ±0.00002″ (±0.0005mm) | 0.1-0.4μm (4-16 μin) | High-volume cylindrical parts | Through-feed, in-feed, end-feed configurations |
| Jig Grinder | ±0.00005″ (±0.00125mm) | 0.2-0.8μm (8-32 μin) | Complex holes, coordinates | CNC contouring, planetary movement |
5 Materials and Applications
Precision grinding services support a wide range of hardened steel materials and applications:
Tool Steels: D2 tool steel (HRC 58-62) is used for blanking dies, forming dies, and punches requiring exceptional wear resistance. A2 tool steel (HRC 57-61) provides good dimensional stability for gauges, fixtures, and precision tools. M2 high-speed steel (HRC 62-64) maintains hardness at elevated temperatures for cutting tools and forming implements.
Bearing Steels: 52100 bearing steel (HRC 58-64) is used for ball and roller bearings where exceptional roundness, surface finish, and dimensional stability are critical. Precision grinding achieves the exact geometries and surfaces needed for smooth operation and long service life in demanding applications.
Stainless Steels: 440C stainless steel (HRC 56-60) provides corrosion resistance along with high hardness for bearing components, valve parts, and medical instruments. 17-4 PH stainless steel (HRC 44-48) offers good mechanical properties and corrosion resistance for aerospace and marine components.
Case-Hardened Steels: 8620 hardened steel (HRC 58-62 case) provides a hard wear surface with a tough core for gears, shafts, and bearing components. Precision grinding creates precise geometries on the hardened surface while maintaining proper case depth and surface integrity.
Applications: Precision grinding serves critical functions across numerous industries including aerospace (turbine components, actuator parts), automotive (transmission components, fuel injection parts), medical (surgical instruments, implant components), tooling (mold surfaces, die components), and precision instruments (optical mounts, measurement surfaces).
6 Quality Assurance and Metrology
Maintaining quality in precision grinding requires comprehensive measurement systems and quality processes:
Dimensional Verification: Coordinate measuring machines (CMM) with scanning capabilities provide complete dimensional verification with uncertainties below 0.000020″ (0.0005mm). Optical comparators and vision systems enable rapid verification of form and geometry without contact, while laser micrometers and air gages provide high-speed dimensional verification for production monitoring.
Surface Finish Measurement: Contact profilometers with diamond-tipped styli measure surface roughness parameters (Ra, Rz, Rq) according to international standards. Non-contact optical profilers use interferometry or focus variation to measure delicate surfaces without risk of damage, providing 3D surface characterization beyond simple 2D profiles.
Geometrical Verification: Roundness measuring instruments verify circularity, cylindricity, and concentricity with uncertainties below 0.000002″ (0.00005mm). Flatness interferometers create full-surface maps of flatness, while autocollimators and angle measurement systems verify angular relationships with arc-second accuracy.
Material Integrity Verification: Hardness testers verify material hardness without damaging finished surfaces using Rockwell, Vickers, or Knoop methods. Residual stress measurement using X-ray diffraction determines stresses induced by the grinding process, ensuring they remain within acceptable limits for the application.
Documentation and Traceability: Comprehensive certification packages provide dimensional data, material certifications, process parameters, and inspection results for each production lot. Unique part identification and traceability systems track components throughout the manufacturing process and product lifecycle.
7 Case Studies: Precision Grinding Applications
Case Study 1: Aerospace Bearing Components
An aerospace manufacturer required precision bearing races from 52100 steel hardened to HRC 60-62 for a new aircraft actuator system. The components needed roundness within 0.000020″, surface finish of Ra 0.1μm, and dimensional tolerance of ±0.0001″ on all critical features.
Solution: JL YPT utilized CNC cylindrical grinding with in-process gaging to maintain tolerances throughout the production run. Multi-stage grinding with progressively finer wheels achieved the required surface finish, while temperature-controlled coolant maintained thermal stability. 100% inspection using roundness measuring instruments and surface profilometers ensured all components met specifications.
Results: The bearing components achieved roundness of 0.000015″ and surface finish of Ra 0.08μm, exceeding customer requirements. The components have performed flawlessly in service for over 10,000 hours without measurable wear or performance degradation.
Case Study 2: Automotive Transmission Components
An automotive manufacturer needed transmission shafts from 8620 hardened steel with case-hardened surfaces at HRC 58-62 and core hardness of HRC 28-32. The components required grinding of journals and shoulders with size tolerance of ±0.0002″ and surface finish of Ra 0.2μm on bearing surfaces.
Solution: Precision centerless grinding produced the cylindrical sections with exceptional size control and roundness, while angular approach grinding created precise shoulders and transitions. Multi-parameter process control maintained consistent results across a production run of 50,000 components, with SPC monitoring ensuring process stability.
Results: The grinding process achieved Cpk values exceeding 2.0 for all critical characteristics, with scrap rates below 0.1%. The components demonstrated exceptional wear characteristics in testing, exceeding lifecycle requirements by over 200%.
Case Study 3: Medical Instrument Components
A medical device company required surgical instrument components from 440C stainless steel hardened to HRC 56-58. The components needed precise grinding of complex forms with dimensional tolerance of ±0.0001″, surface finish of Ra 0.2μm, and complete documentation for FDA submission.
Solution: CNC profile grinding with form-dressed wheels created the complex geometries, while high-precision spindles and temperature control maintained accuracy throughout the process. In-process measurement and 100% final inspection ensured all components met specifications, with comprehensive documentation of all processes and measurements.
Results: The components achieved all dimensional and surface finish requirements, with FDA submission approval on the first attempt. The manufacturing process has produced over 100,000 components with zero quality incidents in field use.
8 Conclusion: The Strategic Value of Precision Grinding Services
Precision grinding services for hardened steel provide manufacturing capabilities that are essential for producing high-performance components where accuracy, reliability, and longevity are critical requirements. The continuing advancement of grinding technology, abrasive materials, and process control enables ever-higher levels of precision and efficiency, making precision grinding an increasingly valuable manufacturing solution across diverse industries.
The strategic importance of precision grinding capabilities extends beyond simple part production to encompass product performance, quality assurance, and supply chain reliability. Companies that maintain or have access to advanced precision grinding capabilities can develop products with higher performance specifications, ensure consistent quality across production runs, and reduce dependence on external suppliers for critical components.
At JL YPT, we combine state-of-the-art precision grinding equipment with extensive experience in hardened steel processing to deliver components that meet the most demanding specifications. Our facilities include temperature-controlled grinding rooms, advanced CNC grinding machines, and comprehensive metrology equipment that ensure your hardened steel components receive the precision grinding services they require.
Ready to discuss your precision grinding requirements? Contact JL YPT today to leverage our expertise for your most challenging hardened steel components.

