The Science of Surface Roughness: How JLYPT Elevates CNC Machined Components
In high-performance manufacturing, surface roughness isn’t just a number—it’s a critical performance variable. At JLYPT, we’ve transformed surface roughness control in CNC machining into a strategic advantage, helping clients in aerospace, medical, and automotive industries achieve optimal functionality. With ISO 4287-compliant measurement systems and proprietary post-processing techniques, our team has optimized surface textures for 5,200+ mission-critical components since 2020. Let’s dissect why surface roughness matters and how we master it.
1. Decoding Surface Roughness: More Than Meets the Eye
The Functional Impact of Ra Values
Surface roughness (Ra) directly affects:
- Wear resistance: 0.4μm Ra reduces gear friction by 35% vs. 1.6μm Ra^[ASME B46.1]^
- Fatigue strength: 0.8μm Ra improves aluminum alloy durability by 28%^[NASA/TM-2020-5004656]^
- Fluid dynamics: 0.2μm Ra cuts pump energy loss by 18%^[Hydraulic Institute Standards]^
JLYPT surface engineering approach:
- Material-specific Ra targets:
- 0.1-0.4μm for biomedical implants (ASTM F3302)
- 0.8-1.6μm for automotive transmission gears (AGMA 2000)
- Directional lay patterns:
- Cross-hatched for oil retention in cylinders
- Unidirectional for low-friction bearings
2. JLYPT 4-Step Surface Perfection Process
Stage 1: Intelligent Machining
Our CNC strategies prevent roughness at the source:
| Technique | Application | Ra Improvement |
|---|---|---|
| Trochoidal milling | Titanium aerospace parts | 0.3μm → 0.15μm |
| Vibration-damped tools | Thin-wall aluminum | Eliminates chatter marks |
| Cryogenic machining | Polymer composites | 72% fewer microtears |
Stage 2: Advanced Finishing
Post-machining treatments at our surface finishing division:
- Micro-abrasive flow machining: Achieves Ra 0.05μm on fuel injectors
- Magnetic abrasive finishing: 0.1μm uniformity on complex curves
- Electropolishing: Removes 5-10μm peaks without dimensional changes
3. Measurement & Validation
Multi-Scale Analysis Protocol
JLYPT verifies surface integrity through:
-
Contact profilometry (Per ISO 4288):
- 0.8mm evaluation length, 5 cutoff lengths
- Filters waviness >0.8mm (λc)
-
Non-contact 3D optical microscopy:
- Sa (3D roughness) mapping across 15x15mm areas
- Detects <1μm defects in sealing surfaces
-
Tribological simulation:
- Predicts wear patterns using actual Ra/Sk (skewness) data
4. Industry-Specific Solutions
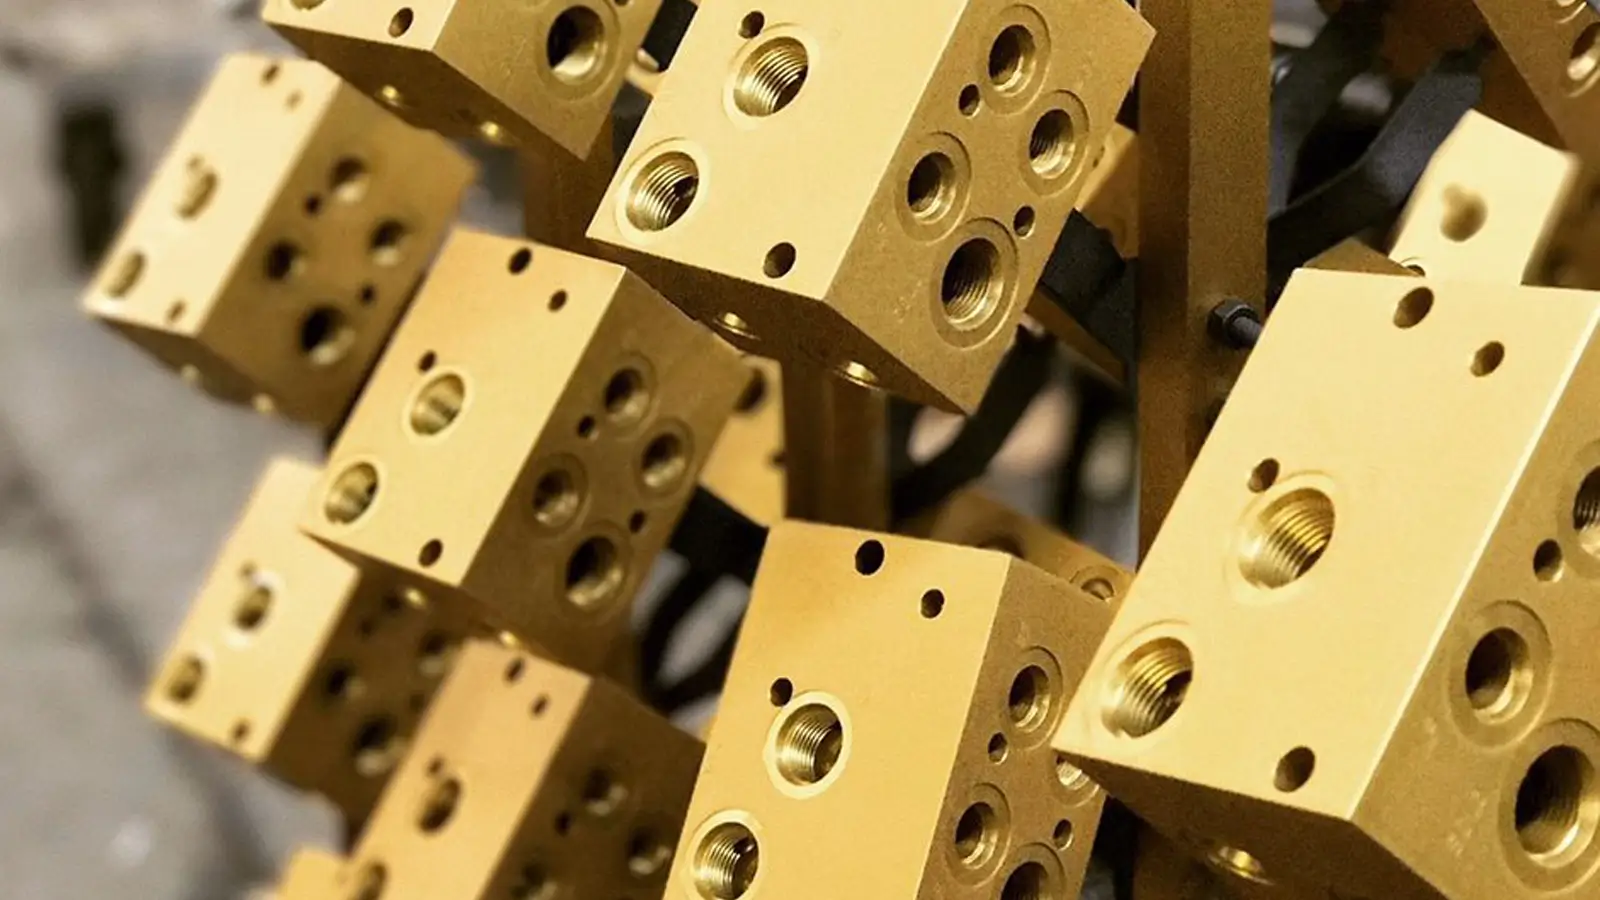
Case Study: Hydraulic Valve Bodies
Client Requirement:
- Ra ≤0.4μm on 17-4PH stainless steel
- 100% leak-proof performance at 5,000 PSI
JLYPT’s Approach:
- Optimized tool stepover (12% of tool diameter)
- Post-process vibratory finishing with ceramic media
- 100% profilometer inspection
Results:
- 0.35μm average Ra with 0.03μm standard deviation
- Zero field failures over 2 years (1.2M cycles)
5. Cost vs. Performance Optimization
Ra Value Economic Analysis
JLYPT helps balance surface quality and budget:
| Ra Target (μm) | Machining Cost | Post-Processing Cost | Total Cost Index |
|---|---|---|---|
| 0.1 | $185 | $240 | 425 |
| 0.4 | $120 | $85 | 205 |
| 1.6 | $90 | $0 | 90 |
Our engineers recommend:
- Critical interfaces: Invest in ≤0.4μm Ra
- Non-contact surfaces: 1.6-3.2μm Ra suffices
6. Future-Ready Surface Engineering
Smart Surface Monitoring
JLYPT integrates Industry 4.0 technologies:
- On-machine probes: Measure Ra every 50 parts
- AI roughness prediction: 94% accuracy from cutting parameters
- Blockchain traceability: Stores Ra data for 15+ years
Why Clients Trust JLYPT Surface Expertise
- Technical Leadership: 14 surface engineering patents
- Certifications: ISO 9001, AS9100D, ISO 13485
- Global Support: 4 dedicated surface treatment centers
“JLYPT achieved Ra 0.2μm on our cardiac pump rotors – a 60% improvement over our previous supplier.”
– Biomedical Engineering Director, Fortune 500 MedTech Firm
